

Convolution reverb lets you replicate the iconic sound of Abbey Road Studios right in your bedroom by using impulse responses captured from its legendary spaces. You simply load these IR files into your reverb plugin, adjust settings to match the studio’s acoustics, and apply them to your tracks. This process creates authentic, spacious reverb that brings your recordings closer to the legendary studio’s vibe. Keep going to discover how to find and use the perfect IRs for your setup.
Key Takeaways
- Use high-quality Abbey Road impulse responses (IRs) in convolution reverb plugins to emulate its iconic acoustics at home.
- Match IR characteristics like size and decay to replicate Abbey Road’s spacious, natural sound in your bedroom setup.
- Experiment with EQ, pre-delay, and wet/dry balance to customize Abbey Road’s ambiance for your recordings.
- Layer multiple IRs or combine convolution with algorithmic reverb for a richer, more authentic Abbey Road-inspired environment.
- Properly set up your DAW and audio interface to seamlessly integrate Abbey Road IRs for realistic, studio-quality reverb at home.
Abbey Road impulse response files
As an affiliate, we earn on qualifying purchases.
As an affiliate, we earn on qualifying purchases.
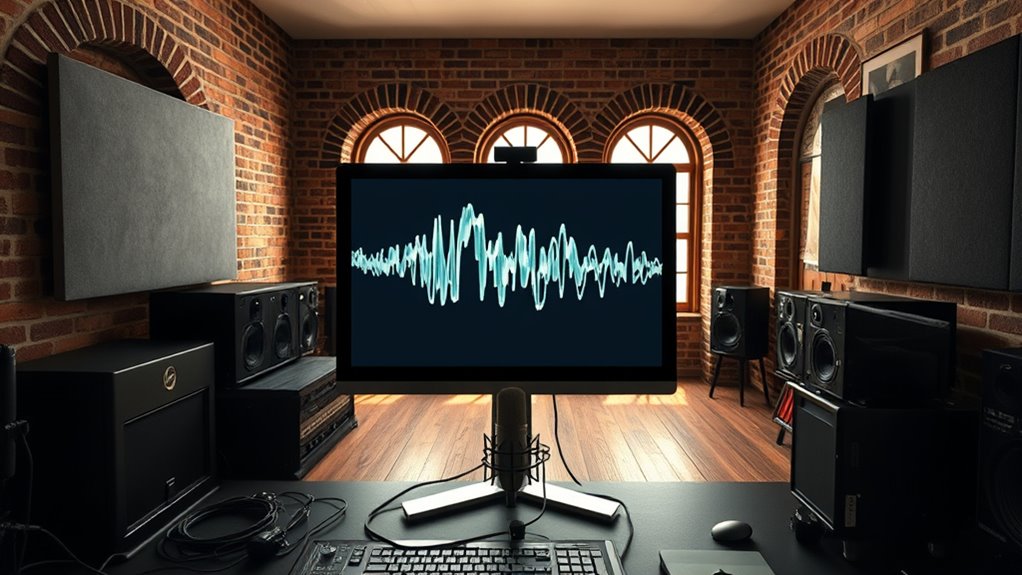
What Is Convolution Reverb and How Does It Work?

What exactly is convolution reverb, and how does it create realistic space? Convolution reverb uses a concept called impulse response, which captures how a space responds to a sound. When you record an impulse in a real environment—like clapping or using a specialized emitter—it creates a unique sound fingerprint. This fingerprint is then stored as an impulse response file. When you apply convolution reverb, your audio signal is processed through this file, mimicking how sound would behave in that space. The result is a highly authentic reverb that replicates the acoustics of real locations. Unlike traditional reverb, which relies on algorithms, convolution reverb grounds your sound in actual acoustic data, making your recordings feel more natural and immersive. Additionally, dog names can be inspired by real-world spaces to match the ambiance of a specific environment.
convolution reverb plugin for DAW
As an affiliate, we earn on qualifying purchases.
As an affiliate, we earn on qualifying purchases.
The History and Significance of Abbey Road Studios

Abbey Road Studios is renowned as an iconic recording environment that has shaped music history. You’ll recognize it as the birthplace of legendary artists and groundbreaking recordings. Its acoustic innovations and enduring legacy continue to influence how we experience sound today. Recognizing angel numbers in the studio’s history can reveal hidden messages and deepen our understanding of its spiritual significance. Additionally, the studio’s sophisticated cookie management practices exemplify its commitment to respecting visitor privacy and enhancing user experience. Moreover, the studio’s state-of-the-art audio technology has set industry standards and fostered continuous innovation in sound production. The studio’s diverse camping locations nearby offer unique opportunities for artists and visitors to connect with nature while exploring the rich musical heritage of the area.
Iconic Recording Environment
Have you ever wondered why Abbey Road Studios remains one of the most legendary recording environments in music history? It’s because of its unique blend of history, architecture, and acoustics. The studio’s iconic control rooms and live recording spaces create a distinctive sound that artists crave. The studio’s design allows for natural reverberation and clarity, making every recording feel alive. Over the decades, it’s become a symbol of innovation and excellence in music production. The atmosphere, combined with top-tier equipment, inspires creativity and has attracted legendary artists. Its reputation is built not just on the equipment, but on the environment itself—a place where history is made. This environment continues to influence recording techniques and sound engineering worldwide. Imagination plays a crucial role in inspiring the creative spirit that defines Abbey Road’s legacy, especially when considering how acoustics can be replicated in different spaces. Additionally, advancements in sound engineering techniques help preserve the studio’s iconic sound in various recording settings. Modern acoustic design principles draw directly from Abbey Road’s legendary environment to optimize sound quality in diverse spaces.
Legendary Artists’ Hub
Why has Abbey Road Studios remained a magnet for legendary artists for over a century? It’s because of its rich history, iconic reputation, and the quality of its recording environment. Artists are drawn here not just for the state-of-the-art equipment but for the atmosphere that inspires creativity. Many of the world’s biggest names—The Beatles, Pink Floyd, and Led Zeppelin—have recorded masterpieces within its walls, shaping music history. The studio’s unique acoustics and legendary control rooms foster innovation and collaboration. Over the decades, Abbey Road has become a symbol of musical excellence, attracting artists who want to leave their mark. Its legacy continues to influence musicians, making it more than just a studio—it’s a cultural landmark that embodies the spirit of legendary music creation. Additionally, the studio’s vibrational energy and historical significance amplify its allure, creating an environment where artistic magic naturally unfolds. The studio’s carefully crafted acoustic environment further enhances its reputation as a space where sound quality and creative inspiration meet seamlessly.
Acoustic Innovations and Legacy
The studio’s legendary acoustics and innovative design have played a essential role in shaping its historic reputation. You experience firsthand how its unique spaces, like the Main Hall, create a vibrant, immersive sound. Abbey Road’s pioneering techniques, such as the use of artificial reverberation, set industry standards. Its legacy includes inspiring countless artists and revolutionizing recording practices. You can explore how the studio’s architectural features contribute to its distinctive sound. Recognized globally, Abbey Road remains a symbol of musical innovation. Additionally, the development of recording techniques at Abbey Road has significantly influenced the history of sound engineering, shaping modern recording methods and industry standards.
FLAMMA FC02 Mini Reverb Pedal Digital Guitar Pedal with 3 Reverb Effects Church Plate Studio True Bypass
Immerse in 3 Rich Reverb: Studio, Church, Plate. Experience a Studio room-style reverb, a deep and expansive Church…
As an affiliate, we earn on qualifying purchases.
As an affiliate, we earn on qualifying purchases.
How to Find and Use Impulse Responses of Iconic Studios

You can find authentic impulse responses (IRs) from famous studios online or through dedicated libraries. Recording your own spaces offers a personalized touch, capturing the unique character of a room. Once you have your IRs, learn to apply them effectively to create rich, immersive reverb effects in your projects. Exploring different IR sources can help you discover a variety of authentic sounds to enhance your mixes.
Locating Authentic IRs
Ever wondered how to capture the authentic sound of iconic recording studios? Finding high-quality impulse responses (IRs) is key. Start by exploring dedicated IR libraries online, which often feature recordings from legendary studios. Reach out to communities or forums where enthusiasts share IRs of iconic spaces. You can also look for official studio archives or companies that specialize in authentic IRs.
- Search for reputable IR libraries with studio-specific recordings
- Use online forums and communities for shared IRs
- Contact IR providers or studios directly for official recordings
Recording Your Own Spaces
Capturing authentic impulse responses from iconic studios requires careful planning and precise recording techniques. First, choose a quiet environment free of background noise and vibrations. Use high-quality microphones and place them at various positions to capture different perspectives of the space. Record a transient sound, like a starter pistol or balloon pop, as your excitation source—ensure it’s loud enough to reach all microphones clearly. Keep your recordings consistent by maintaining the same microphone setup throughout. Once recorded, trim the IRs to remove any excess noise or reverb tail and normalize the levels. Save each IR with clear labels for easy identification. With these steps, you’ll create accurate, usable impulse responses that faithfully reproduce the character of iconic studios.
Applying IRs Effectively
To apply impulse responses (IRs) of iconic studios effectively, start by selecting high-quality IR files from trusted sources or your own recordings. Verify the IR captures the authentic character of the space without distortion or noise. Once you have your IR, experiment with different settings to find the best fit for your mix. Use EQ and level adjustments to tailor the reverb to your track’s needs. Keep in mind that subtle tweaks often yield better results than over-processing.
- Choose IRs with clear, detailed recordings for authenticity
- Match the IR’s size and decay characteristics to your project
- Layer multiple IRs to create a richer, more complex reverb environment

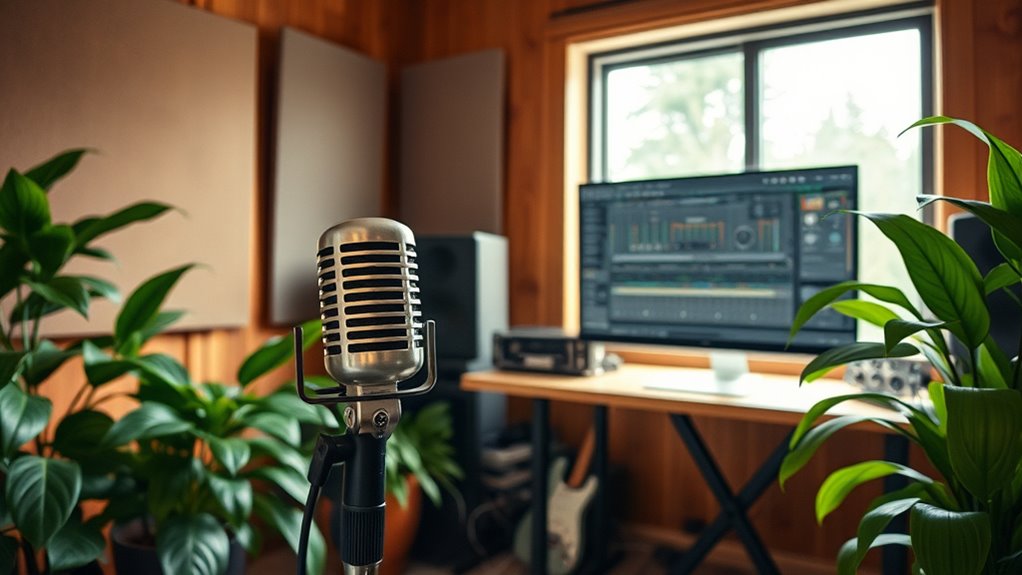
Home Studio Mastering
As an affiliate, we earn on qualifying purchases.
As an affiliate, we earn on qualifying purchases.
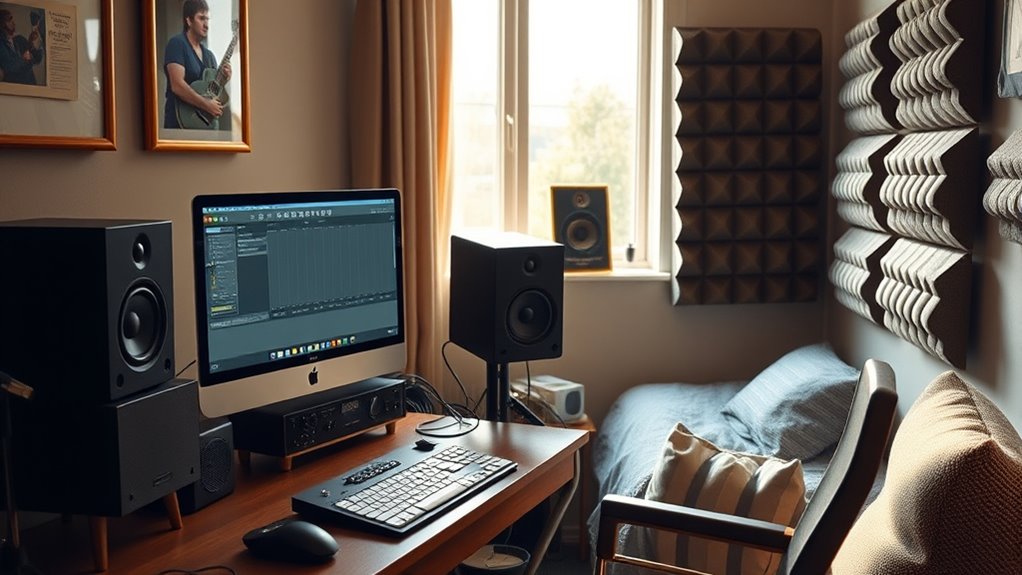
Setting Up Convolution Reverb in Your Home Studio

Setting up convolution reverb in your home studio involves a few essential steps to guarantee ideal sound quality. First, make certain your audio interface and DAW are properly configured to handle high-quality audio processing. Install your chosen convolution reverb plugin, making sure it’s compatible with your system. Next, load the plugin into your preferred channel or bus. To get the best results, disable any unnecessary effects that might interfere with the reverb. Adjust the plugin’s settings, such as wet/dry mix and pre-delay, to suit your track. Finally, test different impulse responses and listen critically, guaranteeing the reverb complements your sound without overpowering it. Proper setup is vital for achieving natural, immersive reverb in your home studio environment.
Choosing the Right Impulse Response for Your Sound
Choosing the right impulse response (IR) is key to shaping the character of your reverb and ensuring it complements your track. The IR determines the space’s tone, size, and ambiance, so selecting the appropriate one can make or break your mix. Focus on the mood you want to create—whether it’s a lush hall, tight chamber, or gritty garage. Consider the genre and the emotional impact you’re aiming for.
Choosing the right IR shapes your sound’s space, mood, and emotional impact—match it to your vibe for a compelling mix.
Here are some tips to guide your choice:
- Match the IR’s size and acoustics to your song’s vibe
- Experiment with different spaces to find unique textures
- Use IRs that complement the instrument or vocal tone
Choosing wisely helps you craft a convincing, immersive sound environment.
Tips for Achieving a Natural and Spacious Sound
To create a natural and spacious sound, start by choosing realistic impulse responses that match your source. Be mindful of adjusting the reverb decay to avoid overwhelming the mix, and carefully balance the dry and wet signals for clarity. These tweaks help your reverb blend seamlessly and enhance the overall feel of your sound.
Use Realistic Impulse Responses
Using realistic impulse responses is essential for achieving a natural and spacious reverb sound. When you select authentic IRs, your tracks will blend seamlessly, creating a believable sense of space. To get the best results, consider these tips:
- Capture IRs from real venues or spaces to replicate their unique acoustics.
- Use high-quality, well-recorded IRs to avoid unwanted noise or artifacts.
- Match the IR’s characteristics to your mix by choosing spaces that complement your instrument or vocal tone.
Adjust Reverb Decay Carefully
Adjusting the reverb decay is key to creating a natural and spacious sound. If the decay is too long, the mix can become muddy and overwhelming; too short, and it’ll sound dry and confined. Start by setting your decay time to match the size of the space you want to emulate. Then, listen carefully and tweak it in small increments. Aim for a decay that sustains enough to create depth without losing clarity. Remember, the goal is a sense of space, not chaos. Trust your ears—if it sounds natural and inviting, you’ve found the right setting. Adjusting decay thoughtfully ensures your reverb enhances the mix without overpowering your original sound.
Balance Dry and Wet Signals
How you balance the dry and wet signals directly impacts the naturalness and spaciousness of your reverb. Too much wet signal can make your mix sound washed out, while too little can feel dry and confined. To achieve a realistic environment, start by gradually increasing the wet signal until you sense the space without overpowering the original sound. Use your ears to find the sweet spot where the reverb adds depth but maintains clarity. Keep in mind:
- Adjust the wet/dry ratio based on the context of your mix
- Use subtle changes to create a natural blend
- Regularly compare with and without reverb to ensure balance
Balancing these signals carefully helps you craft a spacious yet natural sound that enhances your track without overwhelming it.
Creative Uses of Convolution Reverb in Music Production
Convolution reverb offers musicians a vast palette for creative expression beyond traditional space simulation. You can use it to craft unique textures, blending different impulse responses to create new sonic environments. For instance, applying a vintage hall impulse to a percussion track can add warmth and character, transforming ordinary sounds into immersive experiences. You might also experiment with unconventional sources, such as recording everyday objects or environments, then convoluting your tracks with those IRs for surprising effects. Additionally, convolution reverb can be used creatively to distort or manipulate sounds, producing otherworldly textures or ghostly atmospheres. By pushing the boundaries of traditional reverb usage, you *access* new avenues for artistic expression, making your mixes more distinctive and engaging.
Common Challenges and How to Overcome Them
While convolution reverb opens up exciting creative possibilities, it also introduces specific challenges that can hinder your workflow and sound quality. One common issue is large impulse response files that consume excessive system resources, causing lag or crashes. Another challenge is achieving natural-sounding reverbs, as some IRs may sound artificial or too artificial for your mix. Ultimately, managing latency can be tricky, especially on less powerful systems, leading to timing issues during recording or mixing. To overcome these hurdles, consider using optimized IR files, balancing reverb settings carefully, and investing in a system with sufficient processing power. Regularly update your software and experiment with different IRs to find the best match for your sound. These steps will help you harness convolution reverb more effectively.
Comparing Convolution Reverb With Algorithmic Reverb

When choosing between convolution reverb and algorithmic reverb, it’s important to understand their fundamental differences and how each suits your production needs. Convolution reverb uses recorded impulse responses to recreate real spaces with high accuracy, making it ideal for authentic, natural reverb effects. It excels at capturing the unique characteristics of actual environments, providing a realistic sense of space. On the other hand, algorithmic reverb generates reverb through mathematical algorithms, offering more flexibility and control. You can shape the reverb’s tone, decay, and character more easily, making it suitable for creative or exaggerated effects. If realism is your goal, convolution reverb is your go-to. For versatile, customizable sounds, algorithmic reverb gives you the flexibility to craft tailored spaces.
Enhancing Your Mix With Virtual Studio Environments

Virtual studio environments allow you to place your recordings within a simulated acoustic space, giving your mixes a sense of depth and realism without the need for expensive physical spaces. By using these environments, you can create the feel of a professional studio or concert hall right in your home setup. This technique helps your tracks blend more naturally, enhancing clarity and emotional impact. You can customize the size, shape, and character of the space to match your desired sound.
- Add spatial context to make individual instruments sit better in the mix
- Create immersive soundscapes that draw listeners into your music
- Save time and money by avoiding costly studio recordings and reverb chambers
Frequently Asked Questions
Can Convolution Reverb Emulate Non-Studio Environments Effectively?
You wonder if convolution reverb can effectively emulate non-studio environments. It does a great job capturing real space characteristics, so you can recreate everything from a cozy room to a bustling outdoor area. By using impulse responses of various environments, you make your recordings sound like they were recorded in those spaces. With quality IRs and proper settings, you’re able to achieve authentic, convincing reverb effects outside traditional studio settings.
What Are the Best Practices for Customizing Impulse Responses?
When customizing impulse responses, you should start by capturing high-quality, relevant sound samples that match your desired environment. Experiment with different mic placements and distances to create unique reverbs. Use editing tools to crop, normalize, and fine-tune your IRs for clarity. Always listen critically and adjust the length or decay to suit your mix. Regularly compare your IRs to real spaces to guarantee authenticity and fit.
How Does Convolution Reverb Impact CPU Performance?
Think of convolution reverb as a busy city street, where every sound adds to the traffic. It demands significant CPU power because it processes complex impulse responses that mimic real acoustics. When you use it, your computer works harder, like a runner pushing uphill. To keep your system smooth, optimize settings, use lower sample rates, and freeze tracks. This way, you keep your creative flow flowing without crashing under the weight.
Can Convolution Reverb Be Used in Live Sound Applications?
You can definitely use convolution reverb in live sound applications. It offers highly realistic reverberation by capturing actual spaces, making your live mix sound more natural. However, it can be demanding on your CPU, so you’ll need a powerful processor and efficient plugins to avoid latency issues. With proper setup and optimization, convolution reverb enhances live performances, giving your audience a rich, immersive experience.
What Are Limitations of Using Vintage Studio IRS in Modern DAWS?
Vintage studio IRs offer authentic ambiance, but they come with quirks. You might face compatibility concerns, as some IRs don’t mesh seamlessly with modern DAWs or plugins. Limited flexibility can lock you into specific reverbs, reducing control. Storage space might also become an issue, especially with large IR files. Despite these limitations, they still deliver a distinctive, vintage vibe, making them worth exploring with careful consideration.
Conclusion
Now that you understand convolution reverb, you can transform your recordings, replicate iconic spaces, and elevate your mixes. With the right impulse responses, you can recreate Abbey Road’s ambiance or craft your unique environment. Embrace the creativity, explore the possibilities, and overcome challenges. Whether you’re enhancing your sound or experimenting with new textures, convolution reverb empowers you to turn your bedroom into a world of studio magic, making every track feel authentic and alive.