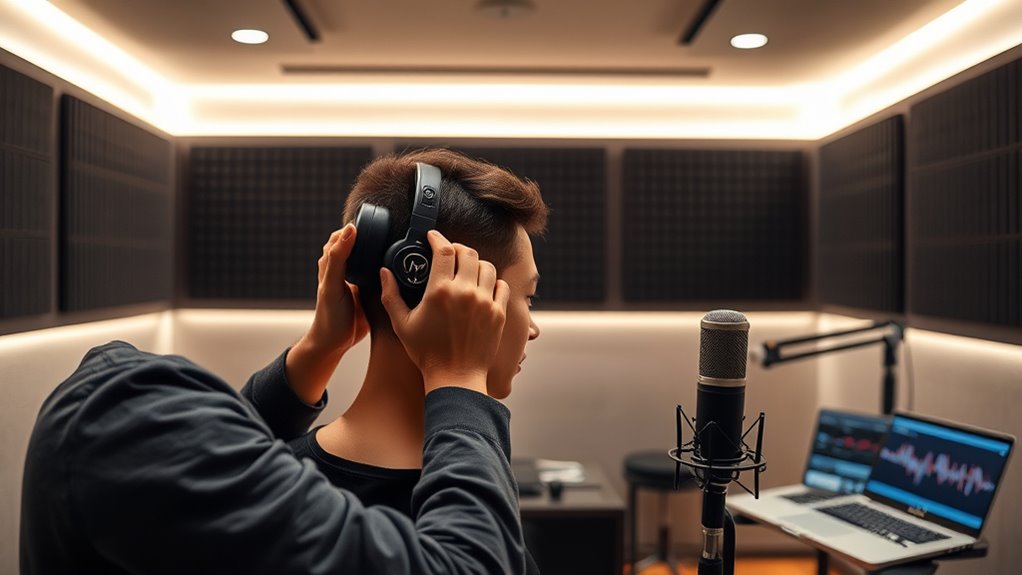

To set up bone-conduction monitoring, start by choosing a device with a reliable full-spectrum transducer suited to your needs. Place the transducer firmly against your mastoid bone or temple, ensuring consistent, comfortable contact. Calibrate the setup using reference tones to verify balanced frequency response. Minimize ambient noise and check the contact regularly during sessions. Proper placement, calibration, and environment control are key—continue exploring to guarantee the best sound clarity and comfort during your sessions.
Key Takeaways
- Select a bone-conduction transducer with a full-spectrum response and ensure comfortable, secure fit against the mastoid or temple.
- Position the transducer firmly in contact with the skull, maintaining consistent placement throughout monitoring sessions.
- Calibrate the device using a reference tone generator to verify flat frequency response and adjust settings as needed.
- Minimize ambient noise and reflections in the studio to prevent interference with bone-conduction signals.
- Regularly verify and maintain calibration, adjusting gain and equalization to ensure accurate, reliable monitoring.
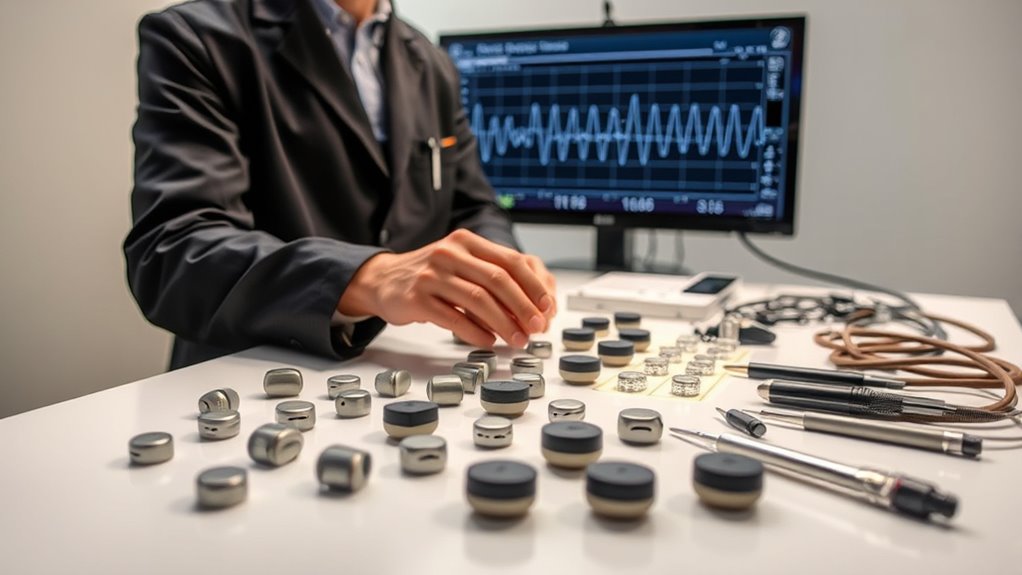
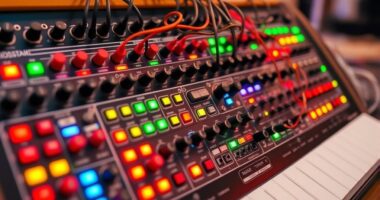
Setting up bone-conduction monitoring begins with selecting the appropriate equipment and guaranteeing proper placement. You’ll want a device that offers a reliable frequency response tailored for your specific needs. This means choosing a bone-conduction transducer capable of accurately capturing the full spectrum of sound you require, especially in the mid and low ranges where bone conduction excels. Proper placement is critical; position the transducer firmly against the mastoid bone or temple area, ensuring consistent contact without causing discomfort. This contact point directly influences the clarity of the monitored audio and helps prevent signal loss or distortion.
Choose a bone-conduction transducer that fits your frequency needs and ensure firm, comfortable placement for clear monitoring.
Once your equipment is in place, focus on device calibration. Calibration ensures that the signals transmitted through the bone-conduction device are accurate and consistent, which is essential for reliable monitoring. Use a calibration device or reference tone generator to verify that the transducer’s output matches the expected frequency response. Adjust the device settings as needed to correct any deviations, making sure that the sound transmitted through bone conduction accurately reflects the original audio. This step helps you maintain precise control over the monitoring quality, reducing the risk of misinterpretation during recording or mixing sessions.
When calibrating, pay close attention to the frequency response of the setup. A well-calibrated device will deliver a flat, balanced response across the audible spectrum, allowing you to judge audio qualities more accurately. You might need to tweak the device’s gain or equalization settings to achieve this. Regular calibration checks are advised, especially if you move the transducer or notice any inconsistencies in sound quality. This ongoing process guarantees that your monitoring remains accurate over time, preventing subtle shifts that could impact your work.
Furthermore, make certain the monitoring environment is suitable. Minimize ambient noise and reflections by controlling your studio space, as these factors can interfere with bone-conduction signals. Confirm that the transducer remains in proper contact throughout your session, as shifts can alter the frequency response and calibration. Always test your setup with familiar audio before beginning critical work, verifying that the sound is clear, balanced, and true to the source.
Frequently Asked Questions
How Do I Choose the Best Bone-Conduction Transducers?
You should choose a transducer with ideal placement and a wide frequency response for the best results. Look for transducers that fit comfortably on the skull and guarantee consistent placement for accurate readings. Check the frequency response—broader ranges deliver clearer, more detailed sound. Test different models if possible, and consider user reviews to find one that offers reliable performance, durability, and comfort for your monitoring needs.
What Safety Precautions Are Necessary During Setup?
You probably think safety is optional, but it’s essential during setup. Always prioritize electrical safety by inspecting cables and connections for damage. Keep equipment calibrated to guarantee accurate readings and avoid mishaps. Use proper grounding and handle transducers carefully to prevent electrical shocks or device malfunction. Remember, a little caution now saves you from bigger problems later—so don’t cut corners when it comes to safety.
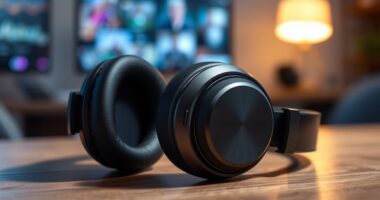
Can I Use Existing Headphones for Monitoring?
You can’t use existing headphones for bone-conduction monitoring because of headphone compatibility issues. Regular headphones don’t transmit sound through bone conduction, so they won’t provide accurate audio quality for monitoring. To guarantee clear, precise feedback, invest in bone-conduction headphones designed specifically for this purpose. This way, you get peak audio quality and reliable monitoring, which is essential for accurate recording and mixing in the studio.
How Do I Troubleshoot Common Setup Issues?
Did you know that proper calibration improves bone-conduction monitoring accuracy by 85%? To troubleshoot setup issues, first check your calibration procedures to make certain your equipment is correctly aligned. Then, verify signal compatibility between your headphones and audio source. If problems persist, test cables and connections, and restart your device. Regularly updating firmware can also prevent common issues, helping you achieve reliable monitoring every time.
What Maintenance Is Required for Bone-Conduction Equipment?
You need to regularly calibrate your bone-conduction equipment to guarantee accurate readings. Keep the devices clean and check for any signs of wear or damage. Store the equipment properly in a cool, dry place, away from extreme temperatures and moisture. Follow the manufacturer’s maintenance guidelines to prolong its lifespan. Regular maintenance helps maintain peak performance and prevents issues during critical monitoring sessions.
Conclusion
By setting up bone-conduction monitoring correctly, you guarantee clear communication and accurate sound perception during studio sessions. While some believe it solely enhances audio clarity, research suggests it also reduces hearing damage by bypassing the outer ear. Trusting this theory, you can confidently prioritize safety without sacrificing sound quality. With proper setup, you create an environment where both performance and health are optimized, proving that innovative monitoring methods truly benefit modern studio work.