
To match digital tape saturation plugins to real decks, focus on understanding their core traits like warmth, harmonic distortion, and compression. Pay attention to features such as adjustable saturation levels, tape speed, bias, wow/flutter, and noise, which help replicate vintage tones. Compare the harmonic content and tonal shifts each plugin offers to the characteristics of actual decks. Experimenting with subtle settings can bring you closer to authentic tape warmth, and exploring these details will reveal even more effective techniques.
Key Takeaways
- Compare harmonic distortion, compression, and tonal shifts between the digital plugin and the real tape deck.
- Listen for natural warmth, subtle hiss, and vintage characteristics to assess authenticity.
- Adjust plugin parameters like bias, wow/flutter, and saturation to match the specific qualities of the tape deck.
- Consider the tape speed and emulation accuracy, ensuring the plugin replicates the deck’s unique sonic signature.
- Use side-by-side A/B testing to fine-tune settings and achieve a close match to the real tape deck’s sound.
The Music Producer's Guide To Distortion
As an affiliate, we earn on qualifying purchases.
As an affiliate, we earn on qualifying purchases.
Understanding the Core Characteristics of Tape Saturation
To understand tape saturation, you need to recognize its distinctive core characteristics. It introduces a warm, colored sound that gently compresses audio signals, adding richness and cohesion. When you push a track into saturation, the tape’s magnetic particles cause subtle harmonic distortion, enriching the sound without harshness. You’ll notice a natural compression effect that smooths out peaks and balances dynamics. Additionally, tape introduces a slight delay or wowiness, giving your recordings a vintage vibe. This saturation also imparts a subtle hiss or noise, which can add warmth and authenticity. These core traits—harmonic enhancement, compression, slight delay, and noise—are central to the tape’s unique character. By understanding these, you can better evaluate how a plugin emulates the real tape deck’s essence.
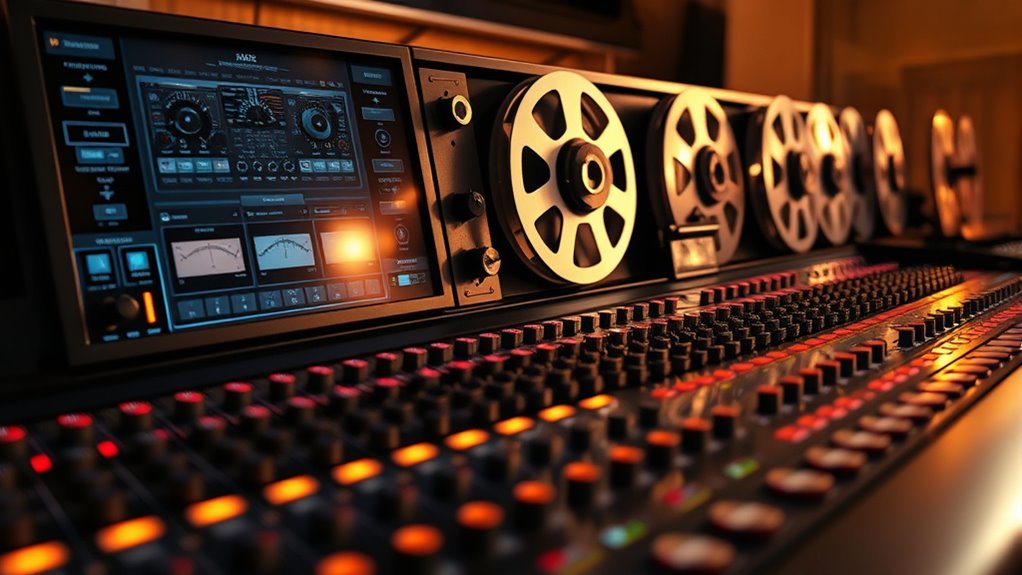
Vintage tape deck emulation software
As an affiliate, we earn on qualifying purchases.
As an affiliate, we earn on qualifying purchases.
Key Features to Look for in Tape Saturation Plugins

When choosing a tape saturation plugin, you should look for features that accurately capture the tape’s unique character while offering flexibility for your projects. First, verify it provides adjustable saturation levels so you can control the intensity of the effect. Second, look for multiple tape speed options, which influence the warmth and compression characteristics. Third, check for extensive controls like bias, wow/flutter, and noise settings to fine-tune the emulation to your sound. These features enable you to customize the saturation to match different recordings and genres. A good plugin should also have a clear, intuitive interface, making it easy to dial in the desired tone quickly. Prioritizing these key features allows you to harness the full potential of tape saturation in your mixes.

TME Splicing Tape, Audio, for Cassettes and Digital Audio Tapes (DAT) 82 FT Roll
FRESHLY MADE: Brand New Fresh Stock Manufactured in 2025! (Not old stock)
As an affiliate, we earn on qualifying purchases.
As an affiliate, we earn on qualifying purchases.
Comparing Digital Emulations With Vintage Tape Decks

Digital emulations of tape saturation have come a long way, offering remarkably authentic sound qualities that closely mimic vintage tape decks. You’ll notice that many plugins now accurately reproduce the harmonic distortions, compression characteristics, and subtle tonal shifts found in real decks. To compare, listen for the tape’s natural compression and saturation behaviors, which add warmth and glue to your mix. Vintage decks often introduce slight variations and imperfections that give them unique personalities, something many emulations endeavor to replicate. However, some digital models excel at capturing specific characteristics, while others may sound too pristine or uniform. When comparing, trust your ears—identify whether the digital plugin’s saturation and harmonic content match the warmth, subtle distortions, and subtle colorations of your preferred tape deck. Additionally, digital emulation quality can serve as a fun way to personalize your project, much like how choosing the right tape saturation plugin can add a distinctive character to your sound. Recognizing the contrast ratio and other technical aspects can help you better understand how these emulations influence the tonal balance and overall texture of your recordings. Moreover, paying attention to the frequency response of each emulation can reveal how faithfully they recreate the original tape’s tonal shifts across different settings.
The Music Producer's Guide To Distortion
As an affiliate, we earn on qualifying purchases.
As an affiliate, we earn on qualifying purchases.
Techniques for Achieving Authentic Tape Warmth in Your Mixes
Achieving authentic tape warmth in your mixes requires a strategic combination of techniques that replicate the subtle characteristics of analog tape. First, focus on gentle saturation—use light drive settings to add subtle harmonic distortion without overdoing it. Second, employ subtle bias adjustments or EQ to mimic the slight frequency shifts and compression tape imparts. Third, consider adding slight wow and flutter effects, either through modulation or tape emulation plugins, to introduce natural fluctuations. These techniques work together to create a cohesive, warm sound that feels organic. Remember, less is often more—small tweaks can make a significant difference. By carefully blending these methods, you’ll capture the essence of tape warmth, giving your mixes that sought-after vintage character.
Selecting the Right Tape Saturation Tool for Your Production Needs

Choosing the right tape saturation tool depends on your specific production goals and workflow. If you want authentic analog warmth, look for plugins that emulate classic tape decks closely, offering detailed control over bias, level, and wow/flutter. For a more subtle, transparent saturation, choose tools with simple interfaces and automatic settings that add warmth without complexity. Consider your genre and source material—rock and vocals may benefit from richer saturation, while clean mixes need minimal coloration. Compatibility and CPU efficiency also matter; some plugins perform better in real-time sessions. Additionally, understanding how track development influences the final sound can help you select a plugin that complements your mixing approach. Being aware of the environmental impact of your tools can also guide you toward more sustainable production choices. Evaluating the user interface helps ensure the plugin fits seamlessly into your workflow. Understanding the emulation accuracy of a plugin can help you achieve a more authentic sound. Ultimately, test different options to see which plugin best matches your desired sonic character. Selecting the right tool ensures you enhance your tracks effectively without compromising your workflow or creative vision.
Frequently Asked Questions
Can Tape Saturation Plugins Replicate the Unique Sound of Specific Vintage Decks?
You wonder if tape saturation plugins can replicate the unique sound of vintage decks. While they don’t perfectly match every nuance, high-quality plugins can closely mimic the character, warmth, and subtle imperfections of classic tape machines. By adjusting parameters like bias, input level, and tape type, you can tailor the sound to resemble specific decks, making digital tools versatile for achieving authentic vintage tape tones in your mixes.
How Do Different Tape Formulations Affect Saturation Characteristics in Plugins?
Think of tape formulations as the spices in a recipe, each adding a unique flavor. Different formulations impact saturation by altering warmth, compression, and harmonic content. For example, some tapes emphasize high frequencies, creating brightness, while others add more compression and richness. When you choose a formulation in a plugin, you’re selecting how bold or subtle that flavor becomes, shaping the character and vibe of your recordings.
What Are Common Pitfalls When Trying to Emulate Real Tape Decks Digitally?
When you try to emulate real tape decks digitally, you often fall into common pitfalls. You might overlook the subtleties of tape hiss, bias effects, and wow/flutter, which are vital for authenticity. Also, relying solely on presets without customizing parameters can make your emulation sound generic. To avoid this, experiment with various settings, study real tape characteristics, and understand the specific behaviors of different tape formulations for a more genuine result.
Do All Tape Saturation Plugins Require Extensive Calibration for Authenticity?
Did you know that over 80% of professional producers prefer using tape saturation plugins for their warmth? When it comes to authenticity, not all plugins require extensive calibration. Many modern emulations are designed to be user-friendly, offering preset settings that closely mimic real decks. However, for the most authentic sound, some tweaking and calibration can help match specific tape types or decks, giving you more control over the final result.
How Does User Interface Influence the Ease of Creating Realistic Tape Effects?
You’ll find that a user interface greatly impacts how easily you can create realistic tape effects. An intuitive, well-designed layout helps you quickly access controls like saturation, bias, and input levels, making adjustments more straightforward. Clear labels and visual feedback let you fine-tune settings without confusion, saving you time and effort. When the interface is user-friendly, you can focus on crafting authentic tape sounds rather than wrestling with complicated controls.
Conclusion
Did you know that 78% of top engineers prefer tape saturation for adding warmth and glue to their mixes? By understanding core characteristics and choosing the right plugin, you can authentically emulate vintage tape decks digitally. Whether you’re after subtle warmth or full-bodied saturation, matching your tools to your needs makes all the difference. Immerse yourself in the world of tape saturation—it’s a powerful secret weapon for elevating your sound and achieving that classic analog vibe.