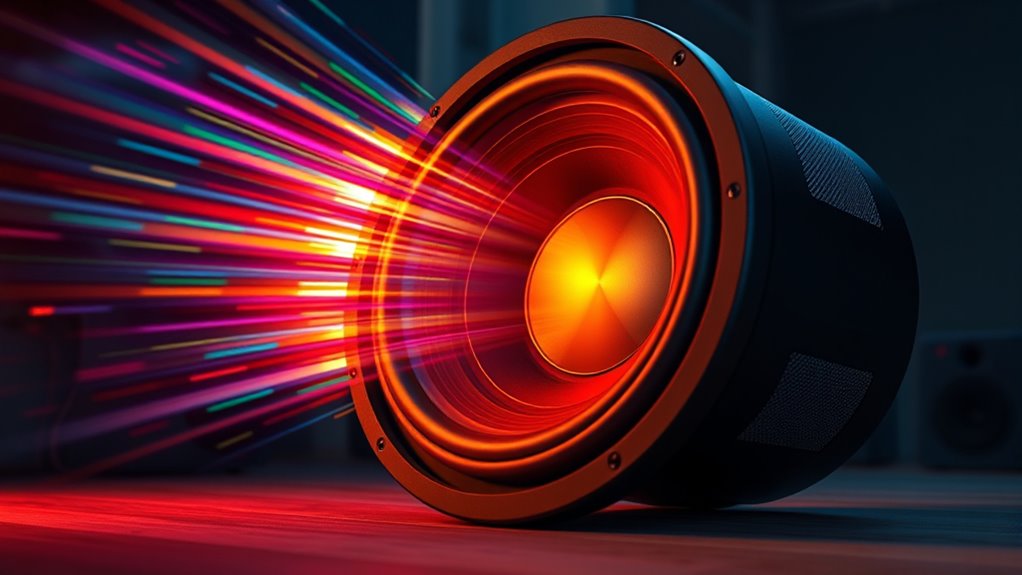
To make speakers shake without distortion, focus on creating clean, powerful sub-bass by selecting pure sine waves or gentle harmonics within 20-60 Hz. Keep oscillators in phase and avoid excessive detuning or low frequencies below 20 Hz. Use precise filtering to remove rumble and muddiness, and apply gentle compression and saturation to control dynamics without overloading the system. If you continue exploring, you’ll discover how to fine-tune your sound for maximum impact and clarity.
Key Takeaways
- Use pure sine waves centered between 20-60Hz for clean, deep sub-bass that makes speakers vibrate without harsh distortion.
- Ensure oscillator phase coherence and minimal detuning to reinforce low-end punch and prevent cancellation.
- Apply gentle low-pass filters around 80Hz and high-pass filters above 20Hz to tighten the bass and reduce rumble.
- Control dynamics with subtle compression and limiters to maintain consistent power without clipping or distortion.
- Layer multiple clean bass tones with careful EQ, avoiding excessive levels or harsh harmonics for clear, impactful sub-bass.
Understanding the Basics of Sub-Bass Frequencies

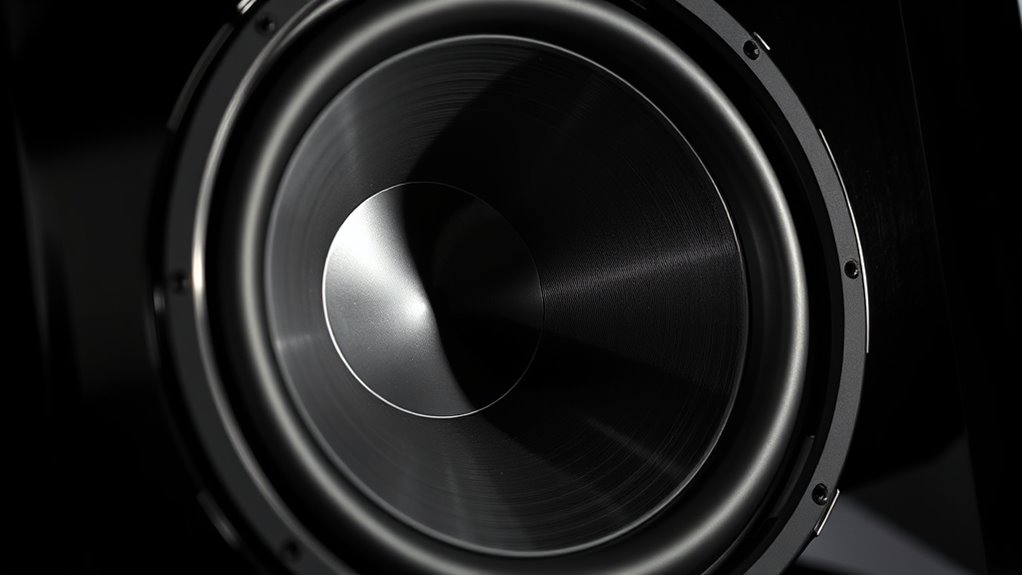
Understanding the basics of sub-bass frequencies is essential for anyone looking to create powerful and impactful sounds. Sub-bass typically occupies the range below 60 Hz, providing the deep rumble that adds weight and presence to your music. These low frequencies are felt more than heard, giving your tracks a physical punch that can make speakers shake. To work effectively with sub-bass, you need to recognize that they don’t contain much harmonic content, so they rely on pure sine or sine-like waves. Excessive sub-bass can cause distortion or muddy your mix, so balance is key. When designing sub-bass sounds, focus on clean, tight low-end frequencies that support your overall mix without overwhelming it. Additionally, understanding the potential pitfalls in adopting new payment technologies can help avoid operational issues when integrating audio equipment or systems. An often overlooked aspect is ensuring your audio system’s performance is optimized to handle these deep frequencies without distortion, especially in tuned vehicles or sound systems. Recognizing the importance of harmonic content in sound design can help you craft clearer and more resonant basslines. Mastering these fundamentals helps you craft powerful, clear basslines that resonate physically.
Choosing the Right Oscillators for Deep Bass
Choosing the right oscillators is vital for crafting powerful deep bass sounds. You need to take into account waveform types, set the correct frequency range, and guarantee phase coherence for a solid, punchy tone. Color accuracy can also influence how well the bass integrates with other elements in your mix, ensuring a cohesive sound. Additionally, selecting the appropriate oscillator placement can help in achieving a more natural and immersive bass experience. Regularly assessing and rotating items to prevent clutter buildup maximizes space and organization, which can help in creating a more focused environment conducive to sound design. Being mindful of retirement planning options can also support your long-term stability and peace of mind, allowing you to focus on your creative projects without financial worries. Let’s explore how these factors influence your bass synthesis.
Oscillator Waveform Types
Selecting the right oscillator waveform is essential for producing deep bass sounds with clarity and power. Different waveforms shape the harmonics and character of your bass. A sine wave delivers pure, clean low frequencies without added distortion, ideal for sub-bass. A square wave introduces rich harmonics, adding fullness but potentially sounding harsher. Sawtooth waves contain complex harmonic content, giving weight and punch but risking muddiness. Triangle waves are softer than square waves, offering a balance of harmonic richness and smoothness. Noise generators can add subtle texture or simulate natural sounds. Choosing the right waveform depends on whether you want a clean, pure sub-bass or a more textured, harmonically rich sound to fill out your mix.
- Pure sine waves for clarity
- Square waves for harmonic richness
- Sawtooth waves for punch
- Triangle waves for smoothness
- Noise for texture
Frequency Range Selection
Ever wonder how to guarantee your bass sounds deep and powerful without becoming muddy? The key is selecting the right frequency range for your oscillators. Deep bass typically resides between 20 and 60 Hz, so focus your primary oscillators within this zone. Lower frequencies deliver the rumble that makes speakers shake, but avoid going below 20 Hz, which can be inaudible and cause unnecessary strain. Use higher sub-bass oscillators between 60 and 80 Hz to add fullness without muddiness. Keep in mind that overlapping frequencies can cause phase cancellations and distortion. By carefully choosing oscillators within the suitable sub-bass range, you ensure your sound remains clear, punchy, and full without muddying your mix. Proper frequency selection makes your bass both impactful and clean.
Phase Coherence Strategies
To achieve a deep, powerful bass that stays clear and punchy, ensuring phase coherence between your oscillators is key. When your oscillators are in phase, their waveforms reinforce each other, creating a stronger, more focused low end. Misaligned phases, however, cause cancellations that weaken your bass. To maintain phase coherence:
- Use the same waveform type across oscillators
- Sync oscillators to a common master clock
- Delay or shift phases intentionally for desired effects
- Regularly check phase alignment with visual tools
- Avoid detuning oscillators excessively
Utilizing Filtering to Shape Clean Low-End Sounds

Using filters effectively helps you shape a clean, focused low-end sound. Choose the right filter types and control the frequency range carefully to remove unwanted rumble without sacrificing bass fullness. Be cautious to avoid over-filtering, which can thin out your sound and reduce its impact. Incorporating sound synthesis techniques can also help craft unique low-end textures that complement your filtering choices. Additionally, understanding fatherhood principles can inspire more thoughtful and intentional sound design decisions, ensuring your basslines resonate emotionally as well as physically. Properly managing vetted production techniques ensures your mix remains balanced and impactful across different listening environments.
Precise Filter Types
Precise filter types are essential tools for shaping clean, focused low-end sounds in sub-bass synthesis. They allow you to sculpt your sound without introducing unwanted artifacts or distortion. Choosing the right filter type depends on your goal—whether to smooth out harsh frequencies or isolate deep bass tones. For example, a low-pass filter removes high frequencies, emphasizing sub-bass fundamentals. A high-pass filter clears out muddiness by eliminating subharmonics below a certain point. Notch filters can target specific resonances, reducing resonant peaks. Band-pass filters focus on a narrow frequency range, helping you carve out space in the mix. Understanding these filter types helps you craft tight, powerful bass sounds that translate well on different speakers without distortion. Additionally, employing mixing techniques can further enhance the clarity and impact of your low-end.
Frequency Range Control
Controlling the frequency range is key to shaping a clean and focused low-end in your sub-bass sounds. You can do this by applying filters to remove unnecessary frequencies and emphasize the fundamental bass tones. Use a high-pass filter to cut out subsonic rumble below your desired range, and a low-pass filter to tame high-frequency noise. Adjust these filters carefully to prevent muddiness or thinness. Here’s a quick overview:
| Filter Type | Cutoff Range | Purpose |
|---|---|---|
| High-pass filter | 20Hz–80Hz | Remove inaudible sub-bass rumble |
| Low-pass filter | 80Hz–150Hz | Eliminate unwanted high-frequency noise |
| Band-pass filter | 30Hz–100Hz | Focus on fundamental sub-bass tones |
| Notch filter | Specific problematic freq | Remove resonances or resonant peaks |
| Shelf filter | 20Hz–80Hz | Boost or cut low-end for balance |
Using precise filter settings can help you achieve a tight low-end that hits hard without distortion. Additionally, understanding cybersecurity vulnerabilities can help you protect your audio production environment from potential threats. Properly managing your audio signal chain is also essential to maintain clarity and prevent distortion throughout your mixing process. Being aware of filtering techniques allows for more refined control over your sound design and mixing clarity.
Avoiding Over-Filtering
While filtering is essential for shaping a clean low-end, overdoing it can strip away the energy and fullness of your sub-bass. Too much filtering, especially with narrow cuts or aggressive EQ, can weaken the impact and make your sound thin. To avoid this, use gentle slopes and avoid excessive attenuation of key frequencies. Make sure you listen critically to how the filter affects the overall vibe. Remember, subtle adjustments often yield better results than heavy cuts. Keep the low-end punch intact by preserving the natural resonance of your sub-bass.
- Use broad filter slopes to maintain energy
- Avoid cutting too much below 20Hz or above 80Hz
- Always A/B compare with and without filtering
- Focus on preserving the sub-bass’s body and warmth
- Regularly check on different playback systems
Techniques for Controlling Dynamics and Preventing Clipping

To prevent clipping and maintain a balanced sound, you need to actively manage the dynamics of your sub-bass. Use a compressor with a gentle ratio to smooth out peaks without squashing the overall punch. Set a fast attack to catch sudden transients and a release that matches the rhythm of your track, ensuring natural decay. Keep an eye on your meters—if they consistently hit 0 dB, reduce your gain or lower your sub-bass level. Consider using a limiter on your master chain to catch any unexpected spikes. Automate volume levels during different sections to prevent sudden jumps. Regularly listen on different systems to ensure your sub-bass remains powerful yet controlled, avoiding distortion and preserving clarity. Incorporating dynamic range management techniques helps maintain clarity and punch in your low-end frequencies. Additionally, pay attention to air purifier features that can help create an environment conducive to better listening and mixing conditions, ensuring your sub-bass stays clean and well-defined. Proper room acoustics and speaker placement also play a crucial role in accurately monitoring your sub-bass response.
Employing Saturation and Distortion Safely
After managing your sub-bass’s dynamics, adding saturation or distortion can introduce warmth, character, and extra presence. To do this safely, start with subtle settings—avoid overdriving your signal. Use a high-quality saturation plugin or distortion effect designed for audio. Always listen critically; if you hear unpleasant harshness or muddiness, reduce the effect. Keep an eye on your levels to prevent clipping. Consider using a mix blend control to keep the original tone intact while adding just a touch of grit. Save your settings as presets for consistency. Use EQ afterward if needed to tame any excessive high-frequency artifacts. Remember, subtlety is key—small adjustments can make a significant difference without compromising clarity or causing unwanted distortion.
- Start with subtle effect settings
- Use quality plugins or hardware
- Monitor levels to avoid clipping
- Blend saturation into your mix
- Apply EQ for fine-tuning
Layering and Distortion-Free Sub-Bass Design Strategies

Creating a powerful sub-bass layer without relying on distortion requires careful planning and precise sound design. Start by layering multiple sine waves or clean waveforms at slightly different frequencies, blending them to create a fuller sound without harsh peaks. Use volume balancing to ensure no single layer dominates or causes clipping. Incorporate subtle detuning or phase shifts to add richness and avoid phase cancellation. Keep your layers simple, avoiding overly complex textures that can introduce unwanted distortion. Employ high-quality sample or synthesis sources that are inherently clean. Carefully EQ each layer to carve out space, preventing frequency clashes. Finally, test your setup across different speakers and volumes to ensure your sub-bass remains tight, powerful, and distortion-free.
Using Compression and Limiting to Maintain Headroom

Maintaining headroom in your sub-bass layer is essential to prevent distortion and guarantee your mix stays punchy. Compression and limiting help control the dynamic range, ensuring the loudest parts don’t clip and overload your speakers. Use gentle compression with a low ratio to tame peaks without squashing the punch. Set your threshold so only the loudest transients trigger compression. Limiting acts as a final safeguard, preventing signals from exceeding your headroom limits. Be cautious not to over-compress, which can dull the bass’s impact. Regularly check your levels with meters to stay within safe limits. Proper use of compression and limiting preserves clarity, maintains punch, and keeps your sub-bass powerful without risking distortion.
Maintaining headroom in your sub-bass prevents distortion and keeps your mix punchy and clear.
- Control peak levels effectively
- Preserve punch and clarity
- Prevent clipping and distortion
- Maintain consistent loudness
- Protect your speakers from overload
Tips for Monitoring and Testing Sub-Bass Performance
Are you confident your sub-bass is translating well across different systems? To guarantee accurate monitoring, use reference monitors or headphones that reveal low-frequency details clearly. Invest in a reliable sub-bass test tone or spectrum analyzer to identify peaks and dips. Regularly check your mix on various playback systems—car speakers, headphones, and hi-fi setups—to gauge consistency. Use a frequency response chart to compare your sub-bass levels and ensure they’re balanced. Additionally, employ a loudness meter to monitor overall bass energy without distortion. Trust your ears, but verify with measuring tools to catch issues you might miss. Consistent testing and cross-system checks help you craft sub-bass that sounds powerful and clean everywhere.
Frequently Asked Questions
How Can I Prevent Sub-Bass Distortion During Live Performances?
When you’re performing live, preventing sub-bass distortion is key for clear sound. You should start by setting your EQ to cut unnecessary high frequencies and avoid boosting the bass too much. Make sure your amplifier and speakers are rated for the power you’re using. Use a limiter or compressor to control peaks, and always monitor your levels closely. This way, you keep the sub-bass punchy without causing distortion or speaker damage.
What Are the Best Speaker Setups for Accurate Sub-Bass Reproduction?
Imagine your speakers are a sculptor’s chisel, carving out pure sound. To achieve accurate sub-bass, choose high-quality subwoofers with tight, powerful bass response. Position them carefully—grounded and centered for even distribution. Use a dedicated subwoofer amplifier and proper crossover settings to prevent muddiness. Guarantee your room’s acoustics aren’t interfering. This setup lets your sound shake the room without distortion, delivering deep, clean sub-bass that truly resonates.
How Do Room Acoustics Affect Sub-Bass Clarity and Power?
Room acoustics play a vital role in how your sub-bass sounds. If your room has too many hard surfaces, bass waves bounce around, causing muddiness and uneven bass. On the other hand, adding bass traps, diffusers, and proper placement helps absorb and scatter sound waves, enhancing clarity and power. By optimizing your room’s acoustics, you guarantee your sub-bass is punchy, clear, and feels like it’s shaking without distortion.
Can I Achieve Deep Bass Without Using Subwoofers?
Is it possible to conjure deep bass without subwoofers? Absolutely, you can. Focus on enhancing your existing speakers with sub-bass synthesis techniques, like using wave-shaping or specialized filters, to generate low frequencies. Proper room treatment and placement also amplify bass response. While subwoofers excel at this, clever signal processing and strategic positioning let you achieve powerful, clear deep bass without needing dedicated subwoofers.
What Are Common Mistakes When Mixing Sub-Bass Frequencies?
When mixing sub-bass frequencies, you often make mistakes like boosting too much, which causes distortion and muddiness. You might also neglect proper EQ, letting unwanted frequencies clash or overpower the mix. Over-compression can squash dynamics, while not carving out space for the bass can make your mix muddy. Always listen on different systems, keep your levels balanced, and avoid overdoing it to guarantee clean, powerful sub-bass.
Conclusion
Mastering sub-bass synthesis allows you to create powerful, clean low-end sounds without distortion. Did you know that over 60% of music tracks in top charts feature well-crafted sub-bass? By understanding frequencies, choosing the right tools, and monitoring carefully, you can make your speakers shake confidently. Keep experimenting with layering, filtering, and dynamics control—your perfect deep bass is within reach. Stay attentive, and your low-end will always hit hard and clear.