
Re-amping guitars transforms dull digital DI tracks into lively, organic tones by sending the signal through amps, effects, or gear post-recording. You’ll need a re-amp box, quality cables, and the right equipment to guarantee a clean, dynamic signal. By experimenting with different amps, mic placements, and effects, you gain full tonal control and creative freedom. Keep exploring to discover how proper setup and techniques can breathe new life into your guitar recordings.
Key Takeaways
- Re-amping adds warmth and character to digital DI tracks by routing them through analog amps and effects.
- It allows post-recording tonal adjustments, creating a more organic and lively guitar sound.
- Using a re-amp box ensures proper signal levels and minimizes noise during the process.
- Multiple mic placements and amp settings can be experimented with to achieve richer, more dynamic tones.
- Re-amping enhances the depth and emotional impact of digital recordings by blending analog textures.

JOYO Passive Reamping and Phantom Powered Active Direct Box, Re-Amping Direct Box with 6.35mm and XLR Input 2 in 1 for Guitarist Bass Performance or Recording (JDI-48)
Independent Re-amp and DI functions 2 in 1 Guitar Effect Pedal, DI features low-cut, phase reverse, stereo mix…
As an affiliate, we earn on qualifying purchases.
As an affiliate, we earn on qualifying purchases.
Understanding the Re‑Amping Process
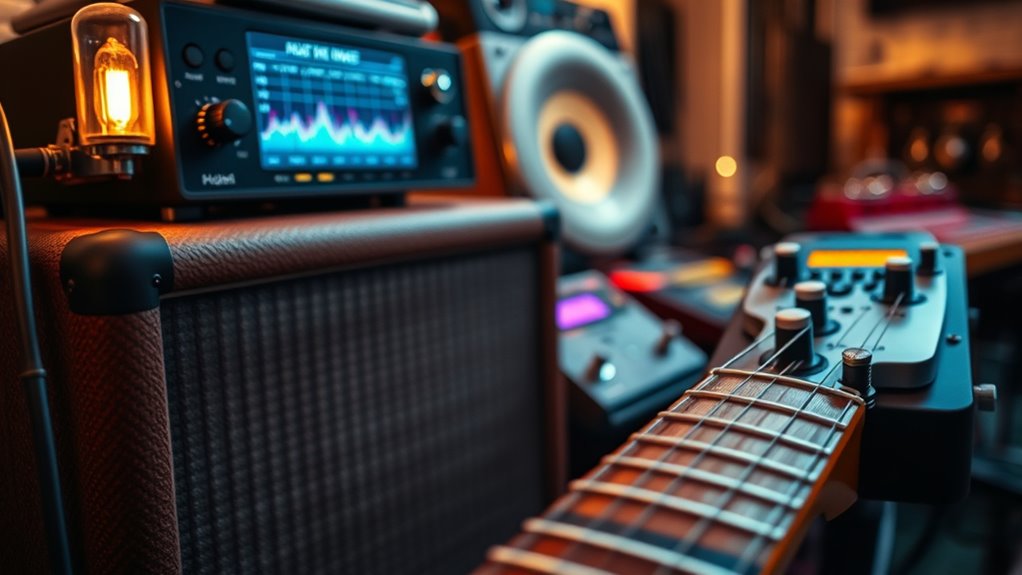
Re-amping is a process that allows you to reshape and enhance your guitar sound after recording. Instead of capturing your guitar directly into the recording device, you record a clean, dry DI track. Later, you send this signal back through your amplifier, effects pedals, or other gear to create the desired tone. This process gives you complete control over your sound in the mixing stage, letting you experiment without risking your original performance. You need a re-amp box to convert your line-level signal to a speaker-level signal, matching your amp’s input. Once set up, you can tweak amp settings, effects, or mic placement to craft the perfect guitar tone. Re-amping unlocks creative possibilities, giving you flexibility and precision that’s hard to achieve with direct recording alone. Understanding the importance of contrast ratio helps in selecting equipment that can accurately reproduce your desired tone, ensuring your re-amped sound remains clear and dynamic. Additionally, paying attention to signal fidelity ensures that the reproduced tone maintains its clarity and character throughout the process. Moreover, embracing a creative practice mindset can help you explore new tonal landscapes and push the boundaries of your sound. Incorporating organization techniques into your setup can streamline the workflow and make the re-amping process more efficient and enjoyable.
JOYO Passive Reamping and Phantom Powered Active Direct Box, Re-Amping Direct Box with 6.35mm and XLR Input 2 in 1 for Guitarist Bass Performance or Recording (JDI-48)
Independent Re-amp and DI functions 2 in 1 Guitar Effect Pedal, DI features low-cut, phase reverse, stereo mix…
As an affiliate, we earn on qualifying purchases.
As an affiliate, we earn on qualifying purchases.
Advantages of Re‑Amping Over Direct Recording
One of the main advantages of re-amping is that it provides greater tonal flexibility compared to direct recording. When you re-amp, you can experiment with different amps, microphones, and placement, shaping your guitar tone after the initial recording. This dynamic process allows for more creative control and easier adjustments, saving time in the mix. Here’s a quick comparison:
| Aspect | Direct Recording | Re-Amping |
|---|---|---|
| Tonal Flexibility | Fixed, limited to initial capture | Highly adjustable after recording |
| Equipment Changes | Not possible once recorded | Easy to swap amps and mics |
| Post-Processing | Limited tonal shaping | Extensive, nuanced control |
| Creative Options | Less spontaneous | Encourages experimentation |
Re-amping empowers you to craft a richer, more personalized guitar sound, making it a valuable technique for modern production. Additionally, understanding how to effectively utilize vetted equipment options can further enhance your re-amping process. Moreover, embracing analog techniques can add warmth and character that digital recordings might lack, especially when combined with proper signal routing techniques.

United Studio Technologies Replay Box – Dual Transformer Reamplification Box
Replay Box features two independent reamplification circuits: Transparent and Harmonic.
As an affiliate, we earn on qualifying purchases.
As an affiliate, we earn on qualifying purchases.
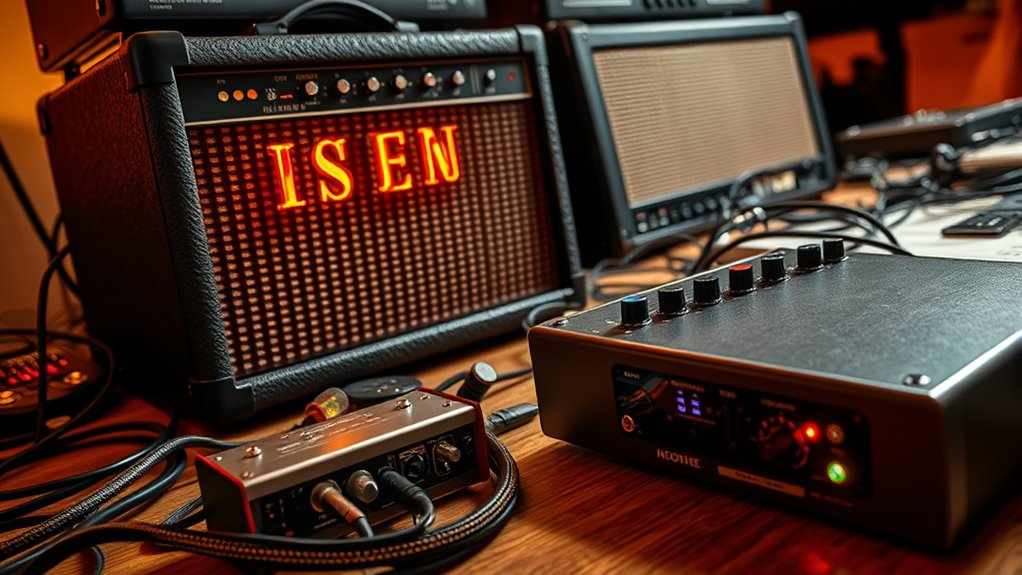
Essential Equipment for Re‑Amping
To get started with re-amping, you need the right hardware that matches your gear and goals. Choosing the proper cables and connectors guarantees a clean, noise-free signal, while a good studio monitoring setup helps you make accurate adjustments. Let’s explore these essential components to set you up for successful re-amping. Additionally, understanding the electric power capabilities of your gear can help optimize your workflow and ensure consistent sound quality. Being aware of the power consumption of your gear can also aid in preventing overloads and maintaining safety standards within your studio environment. Recognizing the importance of audio signal integrity ensures that your re-amping process maintains clarity and fidelity throughout your recordings.
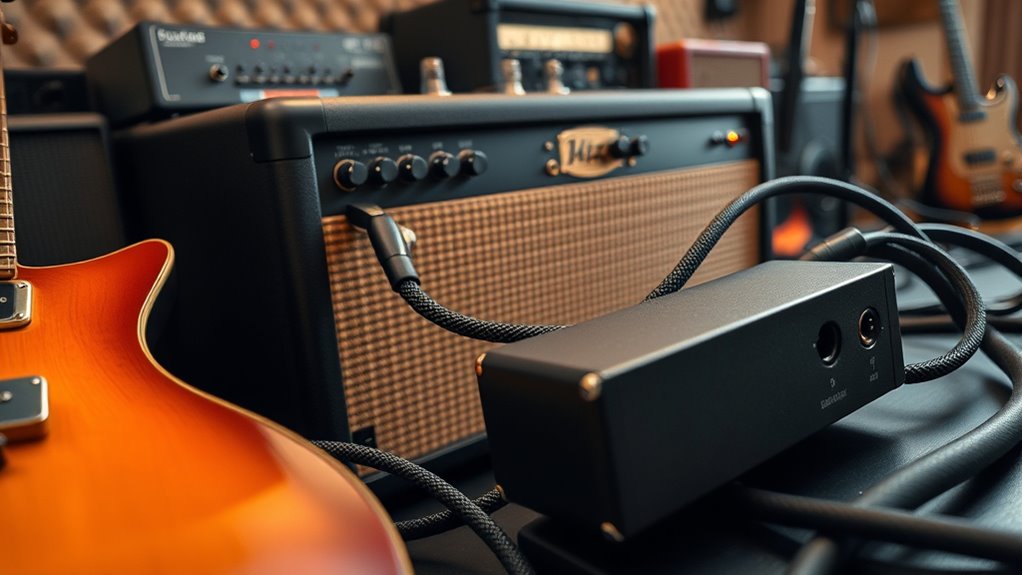
Re‑Amp Hardware Choices
Choosing the right hardware is essential for successful re-amping, as it directly impacts the quality and flexibility of your guitar recordings. You’ll need a dedicated re-amp box that converts line-level signals to instrument-level signals compatible with guitar amps. Look for units with low noise, good impedance matching, and durable construction. Some re-amp boxes include features like level controls and ground lift switches, giving you more control over your tone. Consider whether you want passive or active circuitry, depending on your setup and desired sound. Quality hardware ensures minimal signal degradation and reliable performance. Investing in reputable brands can save you headaches and produce clearer, more dynamic guitar tones. Remember, your hardware choices lay the foundation for capturing authentic, inspiring guitar sounds during re-amping. Incorporating mindfulness techniques can also help you stay focused and make more deliberate decisions when selecting your equipment. Additionally, understanding vibrational energy and how it affects your tone can help you choose equipment that resonates with your desired sound. Paying attention to signal chain considerations can further optimize your re-amping process for better results.
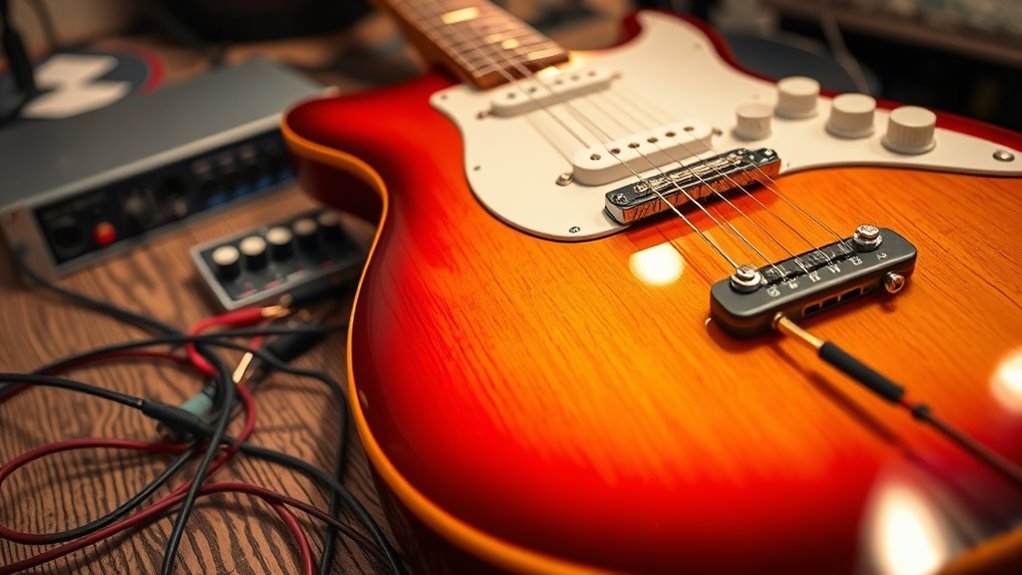
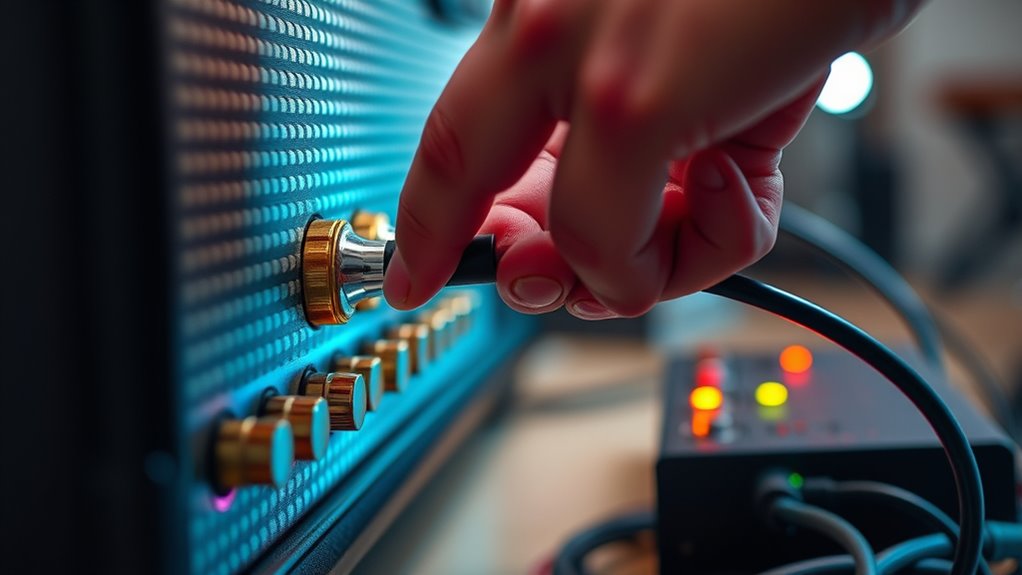
Cables and Connectors
Cables and connectors are the backbone of your re-amping setup, ensuring a clean and reliable signal path from your re-amp box to your guitar amplifier. High-quality instrument cables minimize noise and signal loss, so choose ones with good shielding and solid connectors. Look for cables with low capacitance to preserve high frequencies and prevent signal degradation over distance. Connectors should be sturdy and well-made, providing a secure connection that won’t loosen or introduce interference. Consider using right-angle connectors in tight spaces to avoid strain on the cable and jack. Always keep your cables organized and regularly inspect for wear or damage. Using reliable cables and connectors guarantees that your re-amped tone remains pure, letting your guitar’s character shine through without unwanted noise or signal issues. Additionally, understanding GMC tuning can help optimize your gear for the best possible sound quality and performance. Paying attention to cable management can further reduce noise and prolong the lifespan of your equipment.
Studio Monitoring Setup
Ever wondered what makes your re-amping process sound professional and accurate? It starts with your studio monitoring setup. Clear, honest playback is essential for making precise adjustments and achieving the desired guitar tone. To set up effectively, you need quality monitors that reveal every detail, a well-treated room to minimize sound reflections, proper speaker placement for balanced stereo imaging, an accurate audio interface for faithful signal transfer, and a reliable power supply to prevent hum and noise. Additionally, understanding the importance of spiritual energy in your creative space can enhance your focus and inspiration during mixing and re-amping sessions. Cultivating a positive energetic environment can further improve your overall workflow and creativity.
Here’s what to focus on:
- Nearfield studio monitors
- Acoustic treatment for your room
- Proper monitor placement and angling
- An accurate audio interface
- Sound-isolating headphones for detailed listening
This setup ensures your re-amping translates accurately from your DAW to the amp.

MOOER GE100 Multi-Effects Guitar Pedal with 80 Presets, 66 Effects, Loop and 40 Drum Rythm. Distortion, Expression Volume Wah Pedal, Tap Tempo, Headphone Out, LED Screen, Tuner
80 preset patches and 80 user patches, enough for creating your sound library. You can save any preferred…
As an affiliate, we earn on qualifying purchases.
As an affiliate, we earn on qualifying purchases.
Preparing Your DI Tracks for Re‑Amping
Before re-amping your guitar tracks, it’s essential to prepare your DI recordings properly. First, verify your tracks are clean—remove any noise, clicks, or unwanted artifacts. Check that the levels are not too hot; clipping clips your sound and creates issues during re-amping. Maintain consistent gain to avoid surprises later. Label your tracks clearly, so you know which is which during the process. If you recorded multiple takes or different tones, organize them in your DAW for easy access. Consider applying a high-pass filter to remove unnecessary low-end rumble, but avoid destructive edits. Finally, save a backup of your original DI tracks. Proper preparation guarantees a smoother re-amping session and better control over your guitar tone’s transformation. Additionally, understanding the Mazda Tuning options can inspire you to refine your approach and achieve optimal sound quality.
Choosing the Right Amplifiers and Effects

Choosing the right amplifier and effects shapes your guitar’s tone and fits your style. Consider different amplifier types and the sounds they produce, then pick effect pedals that enhance your desired sound. Matching your gear to your musical approach helps you create a cohesive and compelling tone.
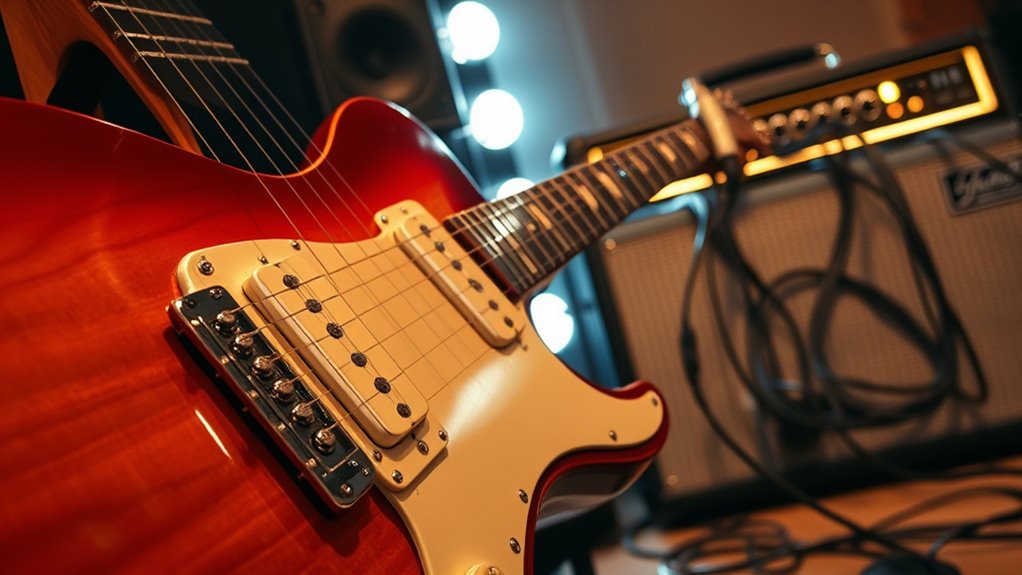
Amplifier Types and Tones
Selecting the right amplifier is essential because it shapes your guitar’s tone and influences your overall sound. Different amp types deliver unique characteristics, so consider what suits your style. Solid-state amps offer clean, reliable tones with high gain, great for modern sounds. Tube amps produce warm, dynamic tones with natural compression, ideal for classic rock and blues. Modeling amps mimic various amp styles and effects digitally, providing versatility. Combo amps combine the speaker and head in one unit, perfect for portability. Head and cabinet setups give you customizable power and tone options. Think about your genre and desired sound when choosing. Your amp’s type directly impacts your tone, so select one that complements your playing and recording goals.
Effect Pedal Selection
Effect pedal selection can dramatically shape your guitar’s sound by adding texture, depth, and unique character to your tone. Choosing the right pedals depends on the style you want to achieve. If you’re after clarity and punch, consider overdrive or boost pedals to enhance your core sound. For more ambient textures, delays and reverbs can create spaciousness and movement. Modulation effects like chorus, flanger, or phaser add movement and shimmer. It’s essential to match pedals to your guitar’s output and your amplifier’s response to avoid muddiness or harshness. Experimenting with different combinations helps you discover what best complements your playing style. Remember, each pedal can serve as a creative tool for shaping your tone, so choose wisely to craft your signature sound.
Matching Gear With Style
Once you’ve experimented with different effects pedals to shape your tone, the next step is to guarantee your gear aligns with your musical style. Choosing the right amplifier and effects is vital to achieving your desired sound. Consider how your genre influences your gear choices: a blues player may prefer a vintage tube amp for warm overdrive, while a metal guitarist might opt for high-gain amps with tight distortion. Think about your tone goals and the sound you want to project. Visualize your setup with gear like:
- Classic boutique tube amps
- Modern digital modeling amps
- Fuzz and overdrive pedals
- Modulation effects like chorus or flanger
- Delay and reverb units
Matching your gear with your style ensures your tone is authentic and expressive.
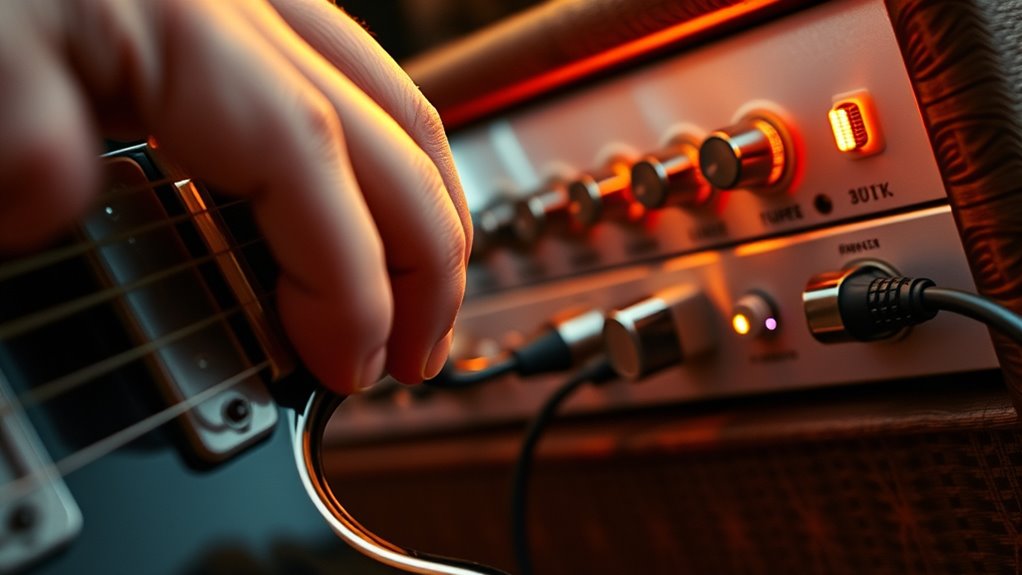
Setting Up a Re‑Amping Station
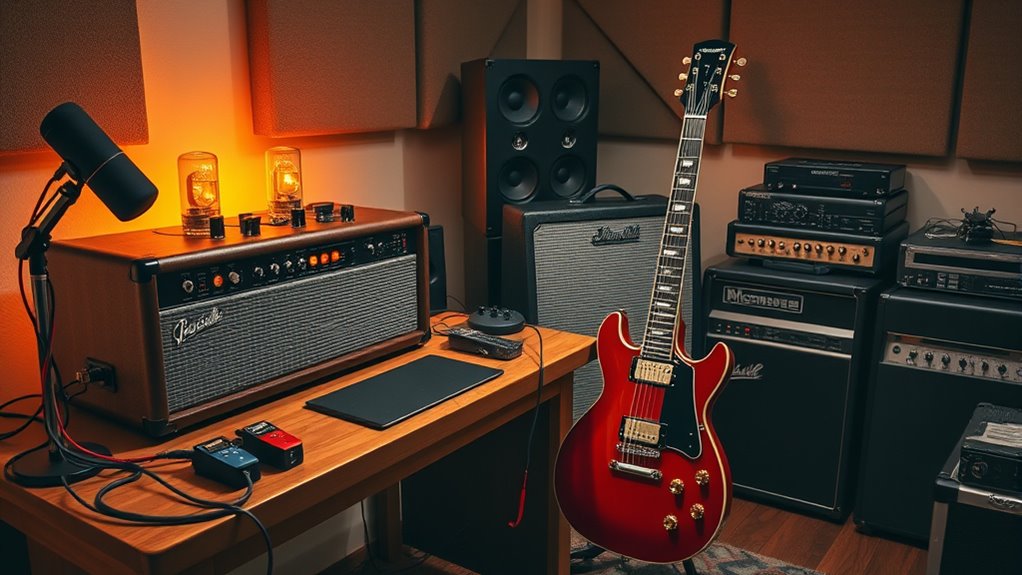
To set up a re-amping station effectively, you need to organize your equipment in a way that allows for seamless signal flow and easy adjustments. Start by placing your audio interface or DI box near your guitar amp, ensuring clear connections. Keep your re-amp box within reach for quick setup and adjustments. Use a dedicated power strip to avoid clutter and ensure reliable power. Label each cable for quick identification. Here’s a simple setup overview:
| Equipment | Placement |
|---|---|
| Audio Interface | Close to computer or workspace |
| Re-amp Box | Within easy reach of guitar cables |
| Guitar Amp | In a sound-treated area |
| Cables | Organized and labeled |
This layout streamlines workflow, making re-amping efficient and intuitive.
Techniques for Achieving Different Guitar Tones
Achieving a variety of guitar tones requires selecting the right techniques and settings to shape your sound. To diversify your tone, consider adjusting your amp’s gain, EQ, and effects. Experiment with different pickup selections, such as switching between bridge and neck pickups, to change the tonal character. Use dynamics—playing softly for cleaner sounds or digging in for more distortion. Incorporate effects like reverb, delay, or overdrive to add depth and texture. Also, try different mic placements during re-amping to influence the tonal qualities captured.
- Varying pickup selections for brightness or warmth
- Adjusting amp gain for clean or distorted sounds
- Using EQ to emphasize bass, midrange, or treble
- Applying effects like reverb or delay
- Playing with dynamics for expressive tones
Troubleshooting Common Re‑Amping Challenges
Re-amping can introduce unexpected issues that affect your guitar tone, even after carefully selecting techniques and settings. Common problems include volume mismatches, phase cancellation, and noise. If your re-amped sound feels weak or distant, check your levels—your DI track might be too hot or too quiet, causing imbalance. Phase issues can lead to thin or hollow tones; try flipping the phase switch on your re-amp box or adjusting your timing slightly. Noise or hum might stem from grounding issues or equipment interference. Always verify your cables, grounding, and connections. When troubleshooting, isolate each step—test the signal chain and settings individually. Patience and systematic checks help identify and resolve these challenges, ensuring your re-amped guitar sounds clear, punchy, and true to your creative vision.
Creative Applications and Sound Shaping With Re‑Amping

Re-amping opens up a world of creative possibilities by allowing you to experiment with different guitar tones and textures after recording. You can morph a dry, sterile DI track into a rich, dynamic soundscape that fits your song perfectly. Want a gritty, distorted edge? Re-amping with a cranked amp adds that raw energy. Looking for ambient textures? Run your track through a reverb-heavy cabinet. You can also layer multiple re-amps to create thick, immersive sounds or tweak the tone by changing amp settings or mic placement. This process release unexpected sonic landscapes, giving you control over every detail.
Re-amping transforms dry tracks into rich, textured soundscapes with endless creative possibilities.
- Transform a clean tone into vintage overdrive
- Add depth with multiple mic positions
- Create unique, experimental sounds
- Emphasize certain frequencies for clarity
- Sculpt textures for emotional impact
Frequently Asked Questions
Can Re-Amping Be Used for Non-Guitar Instruments?
Re-amping isn’t limited to guitars; you can use it for many other instruments like bass, keyboards, and drums. You just need to send the direct digital tracks through different amplifiers or effects setups to shape their tone and character. This process allows you to add warmth, distortion, or unique textures that might be hard to achieve with direct recordings alone. So, yes, re-amping works well for a variety of instruments.
How Does Re-Amping Affect Recorded Guitar Dynamics?
Re-amping substantially impacts your recorded guitar dynamics by allowing you to shape how your guitar responds to different amps and effects. When you re-amp, you send your dry DI track through various amp settings, giving you control over attack, sustain, and decay. This process adds natural variation and character, making your guitar sound more lively and expressive, ultimately enhancing the emotional impact of your performance.
What Are Cost-Effective Alternatives to Professional Re-Amping Gear?
Did you know that many home studio setups spend over 60% of their budget on gear? If you’re looking for cost-effective re-amping alternatives, consider using a simple speaker and an amp or even a guitar cabinet simulator plugin. These options can give your digital tracks a warm, organic feel without the expense of professional re-amping gear, making your guitar recordings sound more lively and professional on a budget.
How Do I Prevent Phase Issues When Re-Amping Multiple Tracks?
To prevent phase issues when re-amping multiple tracks, always check your phase alignment before recording. Use your DAW’s phase invert tool to compare tracks and guarantee they lock in tightly. Keep your re-amp and original tracks synchronized, and avoid delays that can cause phase cancellation. Regularly listen in mono to catch any phase problems early, and make adjustments as needed to maintain a clear, punchy sound.
Is Re-Amping Suitable for Live Performance Setups?
Re-amping is generally not suitable for live performance setups because it introduces extra complexity and latency that can disrupt timing. In live settings, you need reliable, real-time sound. Re-amping involves sending signals back through pedals or amps, which isn’t practical on stage. Instead, focus on capturing your tone beforehand and using direct or amp-miked signals during performance to guarantee consistency and minimal issues.
Conclusion
So, here’s the punchline: all those fancy plugins can’t quite match the soul of a real amp—and yet, you’ll still probably spend hours trying to perfect that perfect digital tone. Re-amping gives you the best of both worlds, blending raw analog magic with your digital convenience. So go ahead, breathe new life into your DI tracks—just don’t forget, sometimes the best sound is the one that’s a little imperfect.