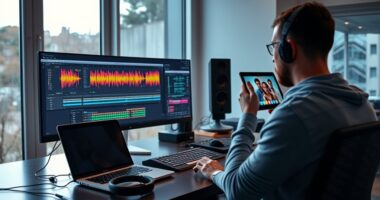

To build a home studio for live-streaming performances, focus on optimizing both sound and visuals. Manage room acoustics by adding sound-absorbing materials like foam panels and bass traps to reduce echo. Use professional lighting, such as softboxes and key/back lights, to achieve even, flattering illumination. Invest in quality microphones and proper placement for clear audio. Consider a high-quality projector or camera for visuals. Keep exploring to discover how these elements come together for a seamless streaming setup.
Key Takeaways
- Use sound-absorbing materials like foam panels and bass traps to improve audio clarity and reduce echo.
- Position microphones properly with quality gear and pop filters for optimal sound capture.
- Implement three-point lighting (key, fill, backlight) to evenly illuminate the performer and enhance visual professionalism.
- Select high-quality projectors and integrate visuals seamlessly for a polished streaming presentation.
- Arrange a clean, well-lit background with minimal distractions to create an engaging and immersive viewer experience.
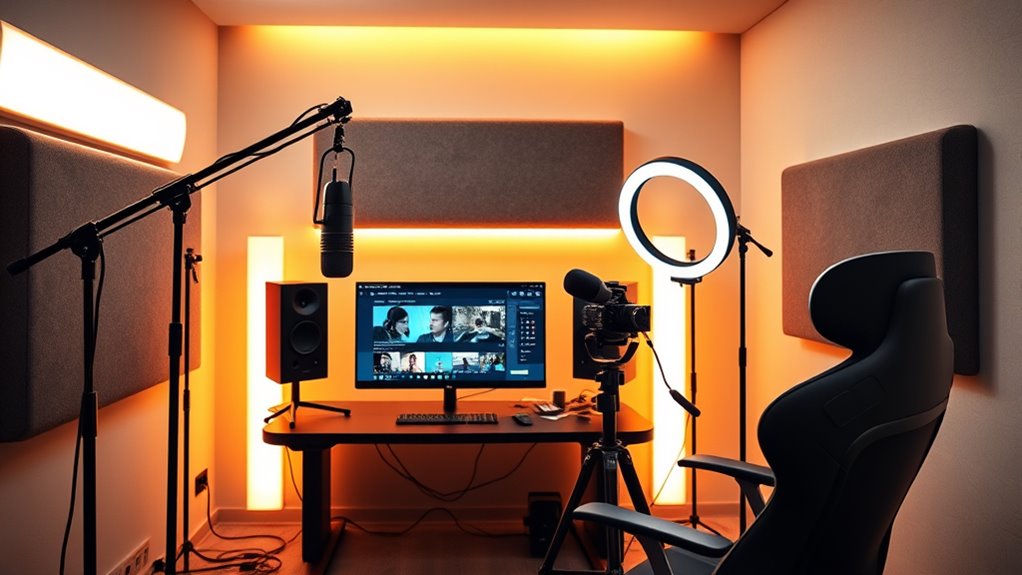
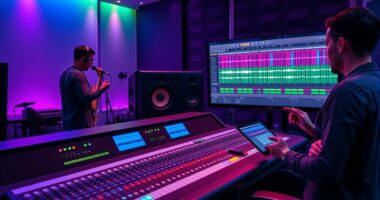
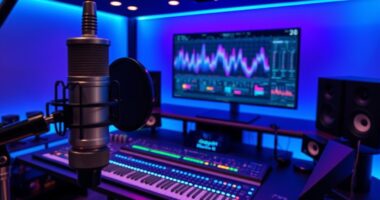
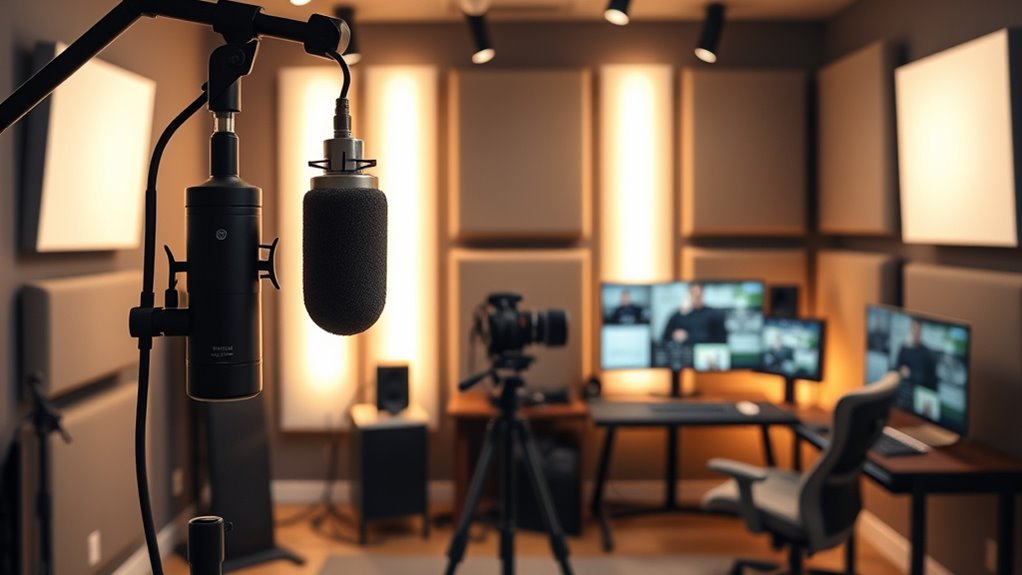
Creating a home studio for live-streaming performances is an exciting way to share your talent with a wider audience. To make sure your streams look and sound professional, you’ll need to pay attention to both acoustic treatment and your lighting setup. These elements are essential for delivering high-quality content that keeps viewers engaged and leaves a lasting impression.
First, focus on acoustic treatment. The goal is to create a space where sound is clear and free from unwanted echoes or background noise. Start by evaluating your room’s natural acoustics. Hard surfaces like bare walls, floors, and ceilings reflect sound, causing echo and reverb. To combat this, add sound-absorbing materials like foam panels, bass traps, and acoustic blankets. Position these strategically around your room, especially on walls behind you and near reflective surfaces. This helps absorb excess sound waves, resulting in a cleaner, more professional audio quality. Don’t forget to consider your microphone placement; positioning it correctly relative to your sound source ensures your voice or instrument is captured clearly. Using a pop filter and a quality microphone can also markedly improve sound clarity. Remember, good acoustics make a noticeable difference in how your performance sounds to viewers, making your streams more engaging and enjoyable. Additionally, choosing a high-quality projector with high refresh rates can enhance visual clarity if you’re integrating projected visuals into your setup.
Next, pay attention to your lighting setup. Proper lighting not only boosts visibility but also enhances the overall aesthetic of your stream. Natural light is great if you have large windows, but it’s often inconsistent, so supplement it with artificial lighting. Invest in adjustable LED lights or softboxes that allow you to control brightness and color temperature. Position these lights to evenly illuminate your face and performance area, avoiding harsh shadows that can distract viewers. A three-point lighting setup—key light, fill light, and backlight—is a popular method for achieving professional-looking results. The key light is your primary source, placed at a 45-degree angle to your face. The fill light softens shadows created by the key light, and the backlight helps separate you from the background, adding depth to your shot. Pay attention to your background as well; a clean, well-lit backdrop prevents distractions and creates a more polished appearance. Consistent, flattering lighting helps viewers focus on your performance and creates a more immersive experience.

54 Pack Sound Proof Foam Panels |12"×12"×1" Quick-Recovery Soundproof Wall Panels | High Density Sound Dampening Panels for Home Studio |With Adhesive Stickers 270PCS
Superior Acoustic Treatment: These sound-absorbing foam panels effectively dampen echoes and reverberations for enhanced audio clarity and quality
As an affiliate, we earn on qualifying purchases.
As an affiliate, we earn on qualifying purchases.
Frequently Asked Questions
What Are the Best Budget-Friendly Microphones for Streaming?
For budget-friendly streaming, you should consider condenser and dynamic microphones, as they offer great sound quality at affordable prices. Popular budget microphone options include the Audio-Technica ATR2100x, the Samson Q2U, and the Blue Snowball iCE. These mics are easy to use, versatile, and deliver clear audio, making them perfect for streaming without breaking the bank. You’ll get professional-sounding results without spending a fortune.
How Do I Optimize Lighting for Live Streaming?
Imagine your scene as a painting—lighting makes all the difference. To optimize your lighting, focus on proper lighting placement, ensuring your face is well-lit without harsh shadows. Use soft, diffused light and adjust the color temperature to match your environment, ideally around 5500K for natural skin tones. Experiment with angles and distances, and consider using adjustable LED panels to fine-tune your setup for a professional look.
What Software Is Easiest for Beginners to Stream?
You should try beginner-friendly software like OBS Studio or Streamlabs OBS, which are easy to learn and compatible with most streaming platforms. These programs offer straightforward interfaces, making setup simple, and support various devices. When choosing software, consider your streaming platform selection and verify the software’s compatibility. Both options help you start streaming quickly without a steep learning curve, making them ideal for those new to live streaming.
How Do I Reduce Echo and Background Noise?
Reducing echo and background noise is like tuning a guitar to get the perfect sound. Start with soundproofing techniques like sealing gaps and using heavy curtains or foam panels. Add acoustic treatment such as foam bass traps and diffusers to absorb excess sound. Keep your room quiet by turning off noisy appliances and using a directional microphone. These steps make your stream clearer and more professional.
What Internet Speed Is Recommended for Seamless Streaming?
For seamless streaming, you should aim for at least 10 Mbps upload speed, but 20 Mbps or higher is ideal for high-quality live performances. Prioritize internet speed requirements that support your stream’s resolution and bitrate. To prevent lag and buffering, optimize your bandwidth by minimizing other device usage during your broadcast. Consistent, reliable internet guarantees your audience enjoys smooth, professional-quality streams without interruptions.

NEEWER 700W Equivalent Softbox Lighting Kit, 2Pack UL Certified 5700K LED Lighting Bulbs, 24×24 inches Softboxes with E26 Socket, Photography Continuous Lighting Kit Photo Studio Equipment
The kit includes (2) 24"X24"/60x60cm Softbox + (2) 35W 5700K LED Light Bulb (total equivalent to 700W regular…
As an affiliate, we earn on qualifying purchases.
As an affiliate, we earn on qualifying purchases.
Conclusion
Now that you’ve built this impressive home studio, you might think you’re ready for the spotlight. But don’t forget, all those shiny lights and fancy gear won’t hide the fact that your cat still insists on walking across the camera or that your Wi-Fi drops at the worst moment. Ironically, the biggest challenge might just be convincing yourself that you’re *not* a natural-born performer—despite all the setup. Welcome to your new reality!
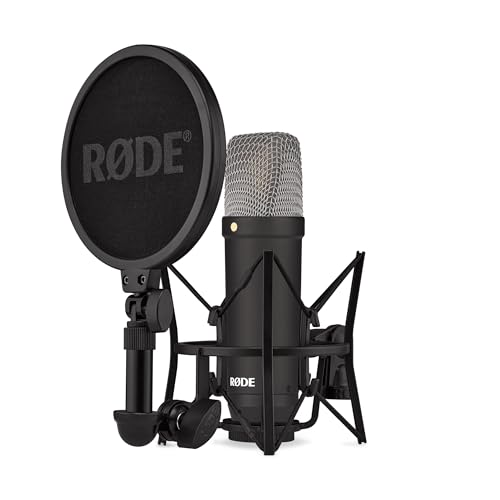
RØDE NT1 Signature Series Large-Diaphragm Condenser Microphone with Shock Mount, Pop Filter and XLR Cable for Music Production, Vocal Recording, Streaming and Podcasting (Black)
Large-diaphragm cardioid condenser microphone ideal for music production, vocal recording, streaming and podcasting
As an affiliate, we earn on qualifying purchases.
As an affiliate, we earn on qualifying purchases.

AOC 4k Webcam for PC with Microphone, Computer Camera with Noise Cancellation, Privacy Cover, 99° FOV, Plug & Play USB Webcam for Streaming, Conferencing, Zoom, Skype, Facetime, Laptop, PC, Skype
4K Ultra HD Video Webcam:See every detail with crystal-clear 4K resolution. Experience incredibly sharp and lifelike video quality…
As an affiliate, we earn on qualifying purchases.
As an affiliate, we earn on qualifying purchases.