Let's groove into mastering vinyl skips with 7 snazzy steps! First, grab a bright light to spot groovy scratches and dust. Whisk them away with a gentle brush and mild cleaner for a minty fresh surface. Ever seen a toothpick save the day? Angle it carefully to nix skips with finesse. Next up, test your tunes for distortion—tune that system like a pro! Remember, handle vinyl like royalty, avoid warping woes. Fine-tune your turntable game for flawless playback—it's like tuning a sports car! Stick with us for more groovy tips on vinyl wizardry.
Key Takeaways
- Inspect for skips by examining grooves closely with a bright light source and magnifying glass.
- Clean vinyl gently with an anti-static brush and mild cleaner to remove dirt effectively.
- Use a toothpick carefully at a slight angle for precise cleaning, inspecting thoroughly.
- Test playback quality by checking sound system, fine-tuning tracking force and alignment.
- Handle vinyl delicately, store vertically, and maintain turntable calibration for seamless playback.

Boundless Audio Record Cleaner Brush – Carbon Fiber Anti-Static Vinyl Brush – Record Player Accessories for Vinyl Cleaning
Clean and protect your vinyl collection — Our vinyl record brush quickly and easily cleans your records before…
As an affiliate, we earn on qualifying purchases.
As an affiliate, we earn on qualifying purchases.
Identifying Skip Locations
To immerse ourselves in the groovy world of vinyl inspection, we suggest using a bright light source to closely examine the grooves for any visible scratches or dust accumulation. It's like being a vinyl detective on a mission to crack the case of the mysterious skipping song!
When we shine that light, we're not just looking for any old scratch or speck of dust. No, no, we're on the hunt for those sneaky irregularities that might make our needle do the cha-cha mid-song. So, grab your magnifying glass – I mean, bright light – and let's delve into the groovy world of vinyl inspection.
As we scrutinize the grooves with our trusty light, we're not just casually glancing over them. Oh no, we're getting up close and personal, making sure we don't miss a beat. Because when it comes to identifying skip locations, precision is key. Those tiny imperfections might seem insignificant, but trust me, they can be the difference between smooth sailing and a musical rollercoaster ride.

Big Fudge Vinyl Record Cleaning Kit – 4-in-1 Vinyl Record Cleaner Kit for Records Includes Ultra-Soft Velvet Brush Cleaning Liquid Stylus Brush and Storage Pouch – Pro Records Care
Vinyl Cleaning Kit: Eliminate dust, dirt, and fingerprints with our ultra-soft velvet brush and XL cleaning solution in…
As an affiliate, we earn on qualifying purchases.
As an affiliate, we earn on qualifying purchases.
Examining for Record Damage
As we continue our inspection of the vinyl, our focus now shifts to closely examining the record for any signs of damage that could potentially lead to skipping during playback.
Imagine this scenario: you're all set to drop the needle on your favorite track, but instead of smooth melodies, all you get is a skipping disaster. To avoid this musical tragedy, grab a bright light (a flashlight will do) and start scrutinizing the record like a vinyl detective.
Look out for scratches, dust particles, or any imperfections that might be lurking on the surface. Check for wear and tear – those deep scratches or warping are like obstacles on a skipping marathon track. Explore the grooves like an adventurer on a mission, seeking out any debris that could sabotage your listening pleasure.
Keep an eye out for marks or blemishes that could trip up the needle. Remember, a clean surface and good lighting are your allies in this quest for smooth tunes.

Hudson Hi-Fi Turntable Cartridge Alignment Kit – The Audiophile Purists Perfected 3-Piece LP Cartridge Setup Set. Accuracy Optimized Digital Scale, Azimuth Ruler, Protractor – Rich Pure Sonic Sound
All-Inclusive Kit: Each kit comes with a turntable stylus digital scale and Premium PE Case. With our alignment…
As an affiliate, we earn on qualifying purchases.
As an affiliate, we earn on qualifying purchases.
Cleaning the Vinyl Surface
Alright, y'all, let's chat about keeping those vinyl records squeaky clean for primo playtime.
When it comes to cleaning the vinyl surface, remember these three magic words: gentle wiping motion.
Combine that with a mild cleaner and ensuring your record is completely dry before dropping that needle for some sweet tunes!
Gentle Wiping Motion
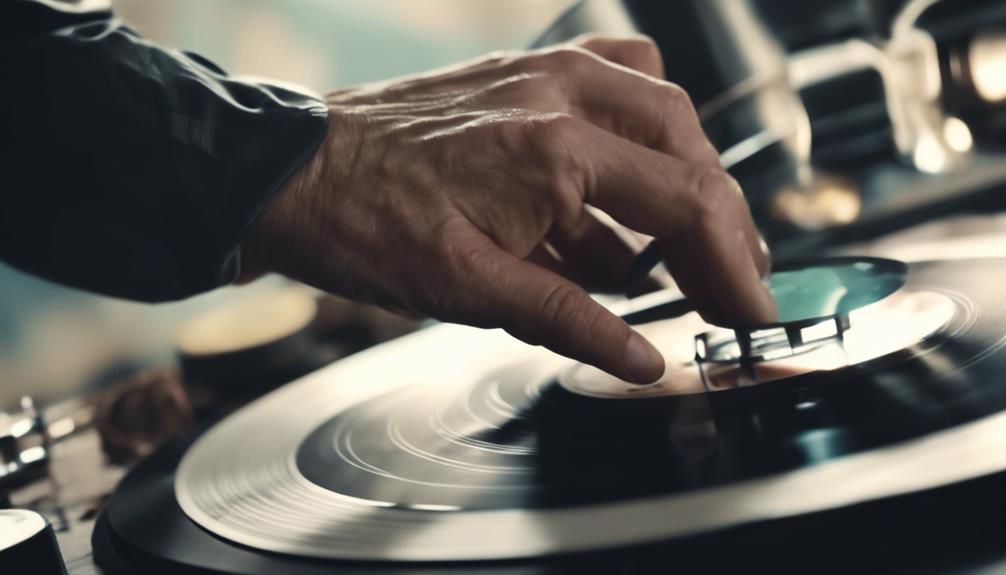
Using a soft, anti-static brush, we gently wipe the vinyl surface before playing to make sure the removal of dust and debris. It's like giving your record a little spa treatment before the big performance!
Remember, we're aiming for cleanliness, not a wrestling match, so avoid harsh cleaners or abrasive tools that could harm your precious vinyl. Start from the center and work your way outwards in smooth, radial motions. This technique helps prevent any unwanted debris from sneaking into those precious grooves.
Regular cleaning might sound like a chore, but trust us, your ears will thank you for the improved sound quality and fewer skips during your jam sessions. So, embrace the gentle wipe – your vinyl will love you for it!
Use Mild Cleaner
Let's freshen up your vinyl collection by gently applying a mild cleaner to the surface for best sound quality and longevity. Here are some key points to keep in mind:
- Effective Dirt Removal: Mild cleaners designed for vinyl can effectively eliminate dirt and grime, ensuring a clean surface for your records.
- Preservation of Integrity: Using a gentle cleaning solution helps maintain the vinyl's integrity without risking any damage, keeping your records in top condition.
- Static Reduction: Mild cleaners can help reduce static on the surface, decreasing the likelihood of skips during playback for a smoother listening experience.
- Enhanced Sound Quality: Properly cleaning with a mild solution can enhance the sound quality and extend the lifespan of your vinyl records, ensuring a crisp and clear audio output.
Dry Completely Before Playing
Before playing a vinyl record, make sure that it's completely dry to prevent skipping and maintain peak sound quality. Moisture on the surface can wreak havoc, causing the needle to cha-cha-cha across your favorite tunes instead of smoothly gliding through them.
No one wants a record that sounds like a remix of skips and jumps! Grab a trusty microfiber cloth and gently pat your vinyl down, ensuring it's as dry as a desert before dropping that needle.
By taking the time to clean and dry your vinyl properly, you're not just preventing skips, you're also giving your ears a treat with enhanced sound quality.

Large Magnifying Glass with 37 LED Light, 10X 20X 45X Handheld Illuminated Lighted Magnifier with 3 Light Modes Rechargeable Magnifying Glass for Seniors Reading, Inspection (White & Black)
CRYSTAL CLEAR OPTICAL GRADE LENS: Enjoy a distortion-free image with our shatterproof and scratch-resistant 5.2-inch magnifying glass. Perfect…
As an affiliate, we earn on qualifying purchases.
As an affiliate, we earn on qualifying purchases.
Using a Toothpick Carefully

Carefully guiding a toothpick along the grooves of a vinyl record is crucial for effectively dislodging dust and debris that may cause skips. When using a toothpick to rescue your favorite tunes from skips, remember these tips to guarantee a smooth process:
- Go Slow and Steady: Rushing through the job may lead to accidental scratches on your beloved vinyl. Take your time, and let the toothpick do its magic at its own pace.
- Angle Matters: Hold the toothpick at a slight angle while gently maneuvering it along the grooves. This technique helps in catching the pesky particles causing the skips.
- Patience is Key: Don't get frustrated if you don't see immediate results. Sometimes, it takes a few passes with the toothpick to completely clear out the debris causing the skips.
- Inspect and Repeat: After the first pass, inspect the record carefully. If there are still skips, don't hesitate to repeat the process until you achieve that flawless playback experience.
Testing Playback Quality
Alright, folks, now we're getting to the nitty-gritty of testing playback quality – the moment of truth, if you will!
We're talking about giving your sound system a little check-up, making sure that needle is aligned just right, and fine-tuning those audio settings for a high-quality listening experience.
Sound System Check
To guarantee high-quality playback on vinyl, we must carefully examine our sound system for any distortions, pops, or crackles that could compromise the audio experience. Here are four key steps to make sure your sound system is in top shape before enjoying your vinyl collection:
- Calibrate Like a Pro: Properly calibrate your sound system to capture all the nuances of vinyl playback.
- Listen Up: Test the playback quality by listening for any distortions, pops, or crackles that may hint at underlying issues.
- Fine-Tune: Adjust tracking force and anti-skate settings on your turntable for best performance.
- Alignment Matters: Check the alignment of your cartridge and stylus to guarantee accurate tracking and playback precision.
Needle Alignment Test
After ensuring our sound system is calibrated and functioning at its best, we can now assess the playback quality by conducting a needle alignment test. This test involves playing a record with a known skip-free section to evaluate how smoothly the needle moves across the vinyl. By closely monitoring the needle's movement, we can identify any skips or jumps in the music, indicating potential alignment issues. Listen attentively for any disruptions in the audio or changes in sound quality as the needle travels along the record. Regularly performing this needle alignment test helps maintain peak playback performance, ensuring a seamless listening experience. Below is a table to guide you through the needle alignment test:
| Needle Alignment Test |
|---|
| 1. Play Skip-Free Section |
| 2. Monitor Needle Movement |
| 3. Listen for Audio Disruptions |
Practicing Gentle Handling

Handling vinyl records with care is essential to maintain their quality and prevent playback issues. Here are four tips to help you master the art of gentle handling:
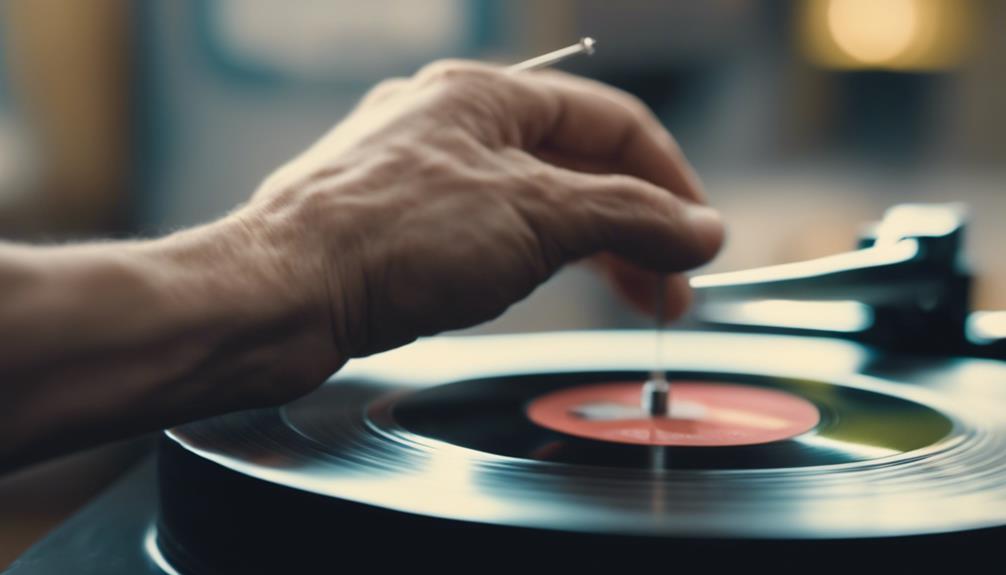
- Light as a Feather: Treat your vinyl records like delicate treasures. Avoid handling them with excessive force or pressure to prevent warping and skips during playback.
- Fingerprints Beware: Keep those greasy fingers away! Oils from your skin can impact the grooves on the record, leading to annoying skipping issues. Always handle records by the edges or the label to avoid leaving your mark.
- Storage Savvy: Proper storage is key to preserving your vinyl collection. Store them vertically in a cool, dry place away from direct sunlight to prevent damage and prolong their playability.
- Brush it Off: Invest in a good record cleaning brush to gently remove dust and debris from your vinyl. This simple tool can help maintain the integrity of your records without causing any harm.
Enjoying Seamless Vinyl Playback
When aiming for seamless vinyl playback, ensuring proper calibration of your turntable is essential. Imagine this: you've got your favorite vinyl spinning, and just as the groove hits that sweet spot, a skip interrupts the flow – not cool, right?
To avoid this vinyl faux pas, make sure your turntable is finely tuned like a sports car ready to race. Keep those vinyl records pristine, free from dust bunnies that could cause your needle to jump like a startled cat. Check on your stylus regularly; after all, it's the unsung hero gliding through those grooves.
And don't forget the tracking force – adjust it just right, following the manufacturer's guidelines for that buttery smooth playback experience. Investing in a high-quality record mat is like giving your vinyl a luxurious spa day, ensuring it stays on track and skipping becomes a thing of the past.
Frequently Asked Questions
How Do You Skip Songs on a Vinyl?
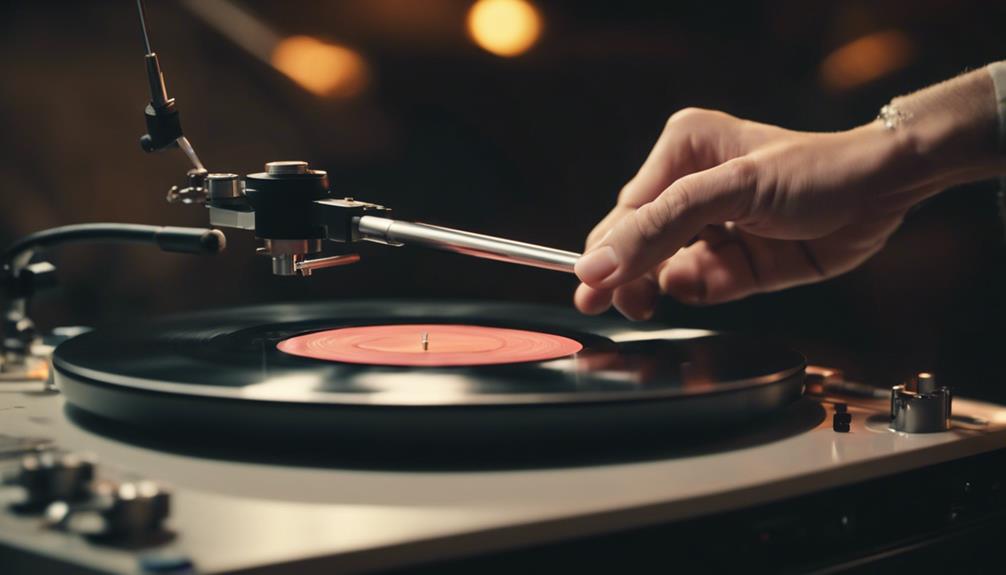
Skipping songs on vinyl is a straightforward process. Just lift the tonearm and place it gently on the desired track. This simple action allows you to easily navigate through your vinyl collection. It's essential to handle the tonearm with a light touch to prevent any potential scratches on the record. While some turntables offer automatic skipping capabilities, the manual method exudes a classic coolness. However, it's important to be cautious as excessive skipping can lead to wear and tear on your vinyl grooves. By treating your vinyl records with care, you can ensure a lasting and enjoyable music listening experience.
Remember, a light touch is key to avoid any scratches.
While some turntables have automatic skipping, manual is classic cool.
Be mindful, skipping too much can wear out your grooves.
Treat your vinyl right for a lasting music love affair!
How Many Songs Can Fit on a 7 Vinyl?
When it comes to 7' vinyl records, you can typically expect to fit about one song on each side, making it a total of two songs that can groove on that little disc. However, factors like song length and fidelity can sway the count. Sometimes you might even find a single extended track hogging the spotlight on those tiny wonders.
What Is the Process of Mastering for Vinyl?
When we delve into the process of mastering for vinyl, it's like crafting a sonic masterpiece tailored for the turntable dance floor.
We tweak levels, frequencies, and dynamics to make sure that groovy record spins like a dream without any skips or distortions.
It's all about finding that sweet spot where every note shines bright, making your vinyl experience pure magic.
Trust us, we're all about preserving that musical integrity with every spin!
What Do I Do if My Vinyl Is Skipping?
When our vinyl skips, we pinpoint the exact spot and inspect for scratches or debris in the groove.
Gently using a toothpick, we navigate through the affected area, exerting light pressure to avoid more damage.
Practicing on less valuable records first, we perfect our technique before tackling precious ones.
It's a delicate dance of precision and care, but with practice, we become skip-masters, saving our vinyl from musical interruptions.
Conclusion
So there you have it, folks! Mastering the art of skipping songs on vinyl is a breeze with these simple steps.
Remember, practice makes perfect, so don't get discouraged if it takes a few tries to get it just right.
Just keep on spinning those records and soon enough, you'll be skipping songs like a pro.
And hey, as they say, Rome wasn't built in a day – so take your time and enjoy the journey to flawless vinyl playback!