
Top engineers position the microphone about 6-12 inches from your mouth, aiming directly at it at or slightly above mouth level. They focus on controlling distance to balance warmth from the proximity effect and avoid distortion or room reflections. Using a pop filter, shock mount, and acoustic treatments helps minimize plosives and echo. Precise placement and equipment tweaks make vocals sound crystal clear—if you want to master this setup, there’s more to discover below.
Key Takeaways
- Position the microphone 6-12 inches from the mouth, aiming directly at the lips for balanced, natural sound.
- Use a pop filter and shock mount to reduce plosives, sibilance, and handling noise.
- Employ a cardioid pattern to focus on vocals and minimize room reflections and background noise.
- Adjust mic height to align at or slightly above mouth level, reducing unwanted room noise and reflections.
- Incorporate acoustic treatment like foam panels and place the mic close to the mouth to control echoes and improve clarity.
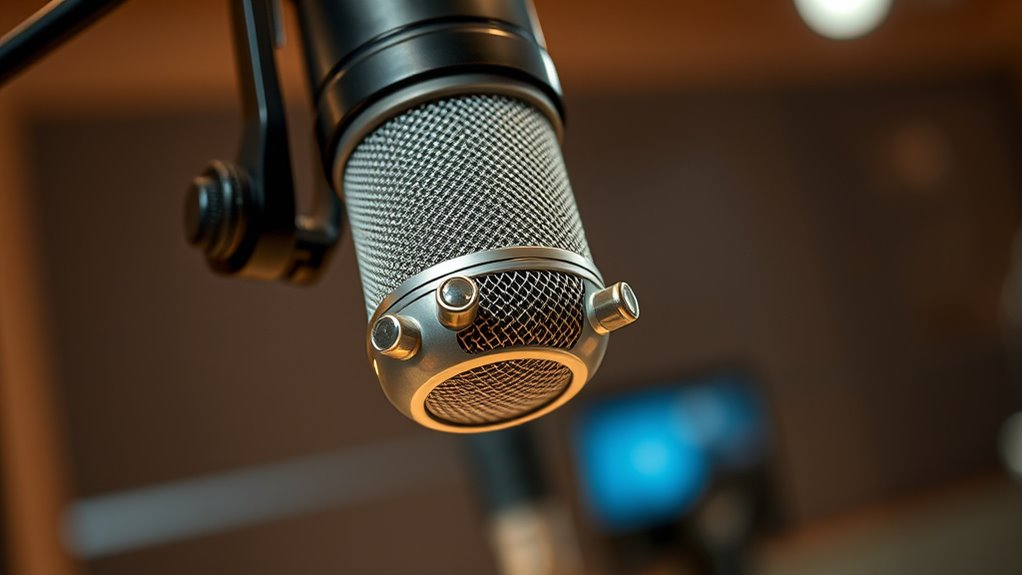
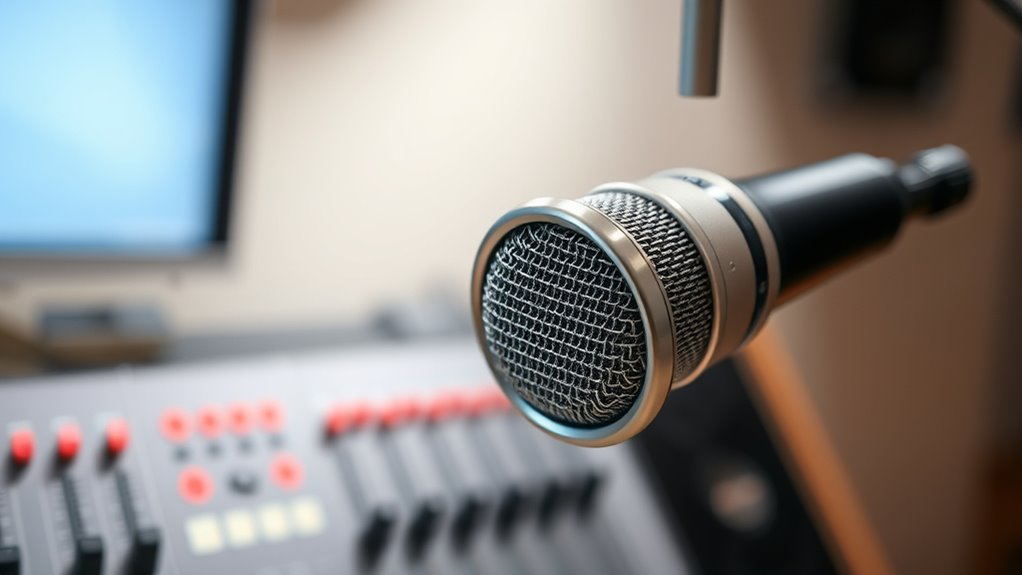
Understanding the Basics of Microphone Placement
Understanding the basics of microphone placement is essential for capturing clear, professional vocals. You want the mic positioned to pick up your voice directly while minimizing background noise. Start by placing the microphone at about mouth level, aiming it towards your mouth. Keep a consistent distance to ensure even volume and tone. Too close, and you risk distortion or excessive bass; too far, and your vocals may sound distant or thin. Choose a direction, like a cardioid pattern, that focuses on your voice and reduces ambient sounds. Remember, small adjustments in angle and height can make a significant difference. Practicing different placements helps you find the optimal position where your vocals sound natural, clear, and balanced. Additionally, understanding audio capturing techniques can further improve your recording quality. Being aware of microphone polar patterns can help you select the best mic for your environment and voice type.
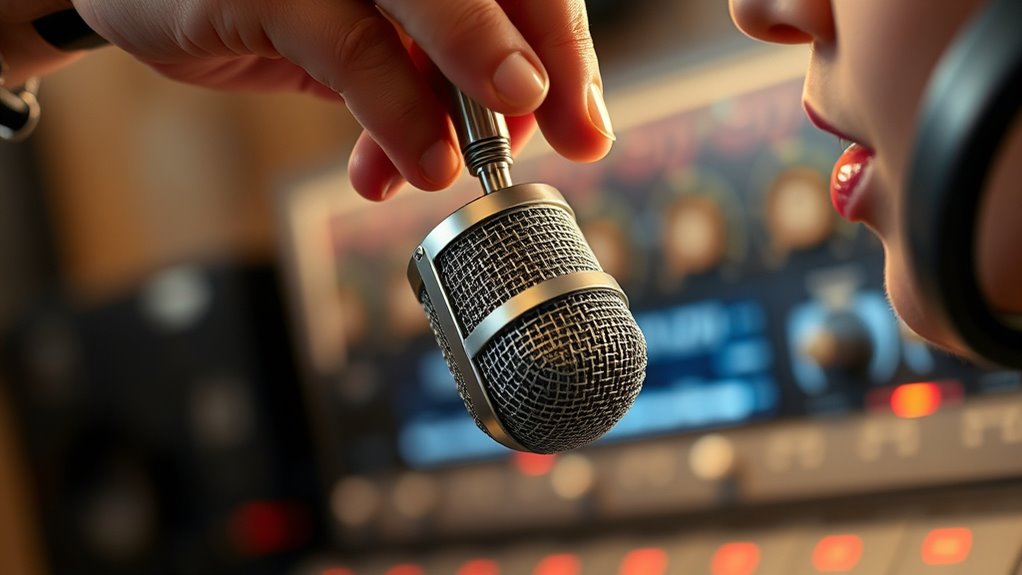
The Importance of the Distance From the Mouth

The distance between your mouth and the microphone directly impacts the clarity and quality of your vocals. If you’re too close, your voice may sound boomy or muddy due to excessive proximity effect, and plosive sounds can become harsh. Too far away, and your vocals might lose warmth and detail, sounding distant or thin. Finding the right distance guarantees your voice sounds natural, balanced, and clear. Typically, maintaining about 6 to 12 inches from the microphone works well, but this can vary based on your voice and mic type. Experiment with different distances, listening carefully to how each affects your tone. The goal is to capture your voice accurately without unwanted noise or distortion, ensuring your recordings are crisp and professional. Proper microphone placement can also enhance your tuning process by capturing the nuances of your voice more effectively. Additionally, understanding the proximity effect helps you optimize your placement for better sound quality. Being aware of AI security vulnerabilities can inform you about potential issues in digital audio processing systems. Recognizing angel number patterns can also inspire confidence and positivity during your recording sessions, helping you perform at your best.
Positioning the Microphone at the Correct Height
Positioning the microphone at the correct height guarantees your vocals are captured naturally and clearly. When you place the mic at the right level, it aligns better with your mouth’s sound source, reducing unwanted noise and ensuring a balanced tone. Typically, the mic should be around the same height as your mouth or slightly above, depending on your singing style. Keep in mind that a too-high or too-low placement can cause uneven sound or unwanted room reflections. To optimize your setup, consider these tips:
Proper microphone height ensures clear, natural vocals and reduces unwanted noise.
- Position the mic at mouth level for most singing styles
- Adjust slightly higher if you tend to sing downward or have a deep voice
- Use a stand with adjustable height for consistent placement
- For the best results, ensure the microphone is properly positioned to minimize room reflections and unwanted noise. Proper mic placement is also essential for sound quality and achieving professional-grade recordings.
Using the “Proximity Effect” to Your Advantage

When you place the microphone close to your mouth, you can harness the proximity effect to add warmth and richness to your vocals. This natural phenomenon boosts low-frequency response, making your voice sound fuller and more intimate. To use it to your advantage, get close enough—about a few inches—and maintain consistent distance. This ensures a consistent tone and prevents unwanted variations. Keep in mind, the proximity effect can sometimes cause muddiness if you get too close, so listen carefully and adjust as needed. Experiment with different distances to find the sweet spot where your vocals sound full without becoming boomy. Controlling your proximity allows you to add depth and warmth, elevating your vocal recordings effortlessly. Additionally, understanding the types of dog names can help you choose a fitting and memorable name for your pet. Being aware of Vetted – How Get Divorce can also help you navigate major life transitions with confidence. Moreover, paying attention to calming decor ideas can create a more relaxed environment in your recording space, reducing stress and enhancing your performance.
Avoiding Common Placement Mistakes
Many beginners make the mistake of placing the microphone too close or too far from their mouth, which can result in muddled or thin vocals. To avoid this, focus on consistent positioning and proper distance. Keep the mic about 6-12 inches away, depending on the vocal style and mic type. Avoid angling the mic wildly or pointing it directly at your mouth, as this can cause unwanted plosives or uneven sound. Also, steer clear of placing the mic near noisy surfaces or reflective objects that can introduce unwanted echoes or reverb. Additionally, understanding soundproofing techniques can help minimize background noise and improve vocal clarity during recording. Being familiar with the microphone and its optimal placement can significantly enhance your recording quality. Maintaining awareness of acoustic treatment can further help create a controlled recording environment that captures clear vocals.
Experimenting With Angle and Directionality

Experimenting with the angle and directionality of your microphone can substantially improve your vocal clarity. By adjusting the mic’s angle, you can minimize unwanted room noise and plosive sounds that clutter the recording. For example, angling the mic slightly off-center from your mouth helps reduce harsh sibilance and plosives. Changing the pickup pattern—like switching from cardioid to bidirectional—can focus on your voice while rejecting background noise. Moving the mic closer or farther away also impacts clarity and tone. Small tweaks in angle and directionality allow you to find the sweet spot where your vocals sound natural and detailed. Additionally, understanding microphone polar patterns can help you choose the best setup for your recording environment. Keep experimenting until you discover the position that captures your voice’s nuances without capturing unwanted distractions.
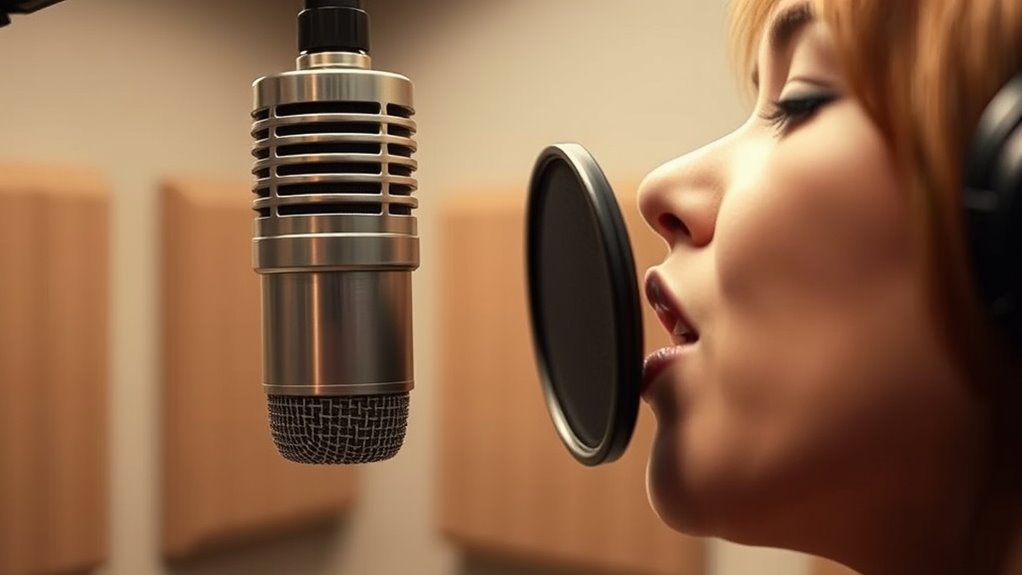
Incorporating a Pop Filter for Clarity
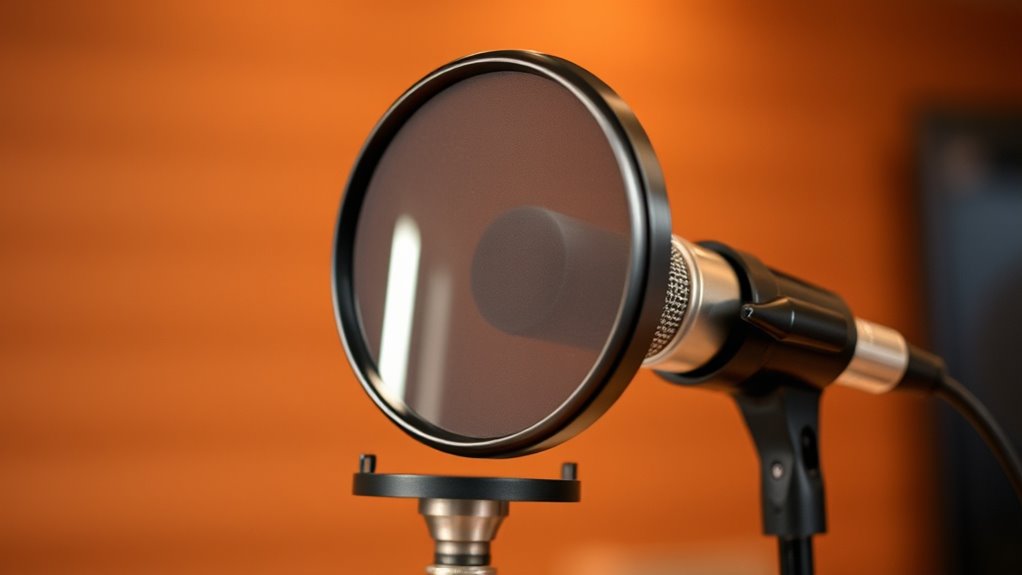
Incorporating a pop filter into your microphone setup is a simple yet effective way to enhance vocal clarity. It prevents plosive sounds—those harsh “p” and “b” noises—that can distort recordings. By placing the filter a few inches in front of your mic, you reduce unwanted breath sounds and sibilance, resulting in cleaner vocals. Pop filters also safeguard your microphone from moisture damage over time. To maximize their effectiveness, verify the filter is positioned correctly—close enough to block plosives but not so close that it mutes your voice. Remember, a good pop filter is a small investment that makes a noticeable difference in the overall quality of your recordings.
- Prevents harsh plosive sounds and sibilance
- Protects your microphone from moisture
- Enhances overall vocal clarity
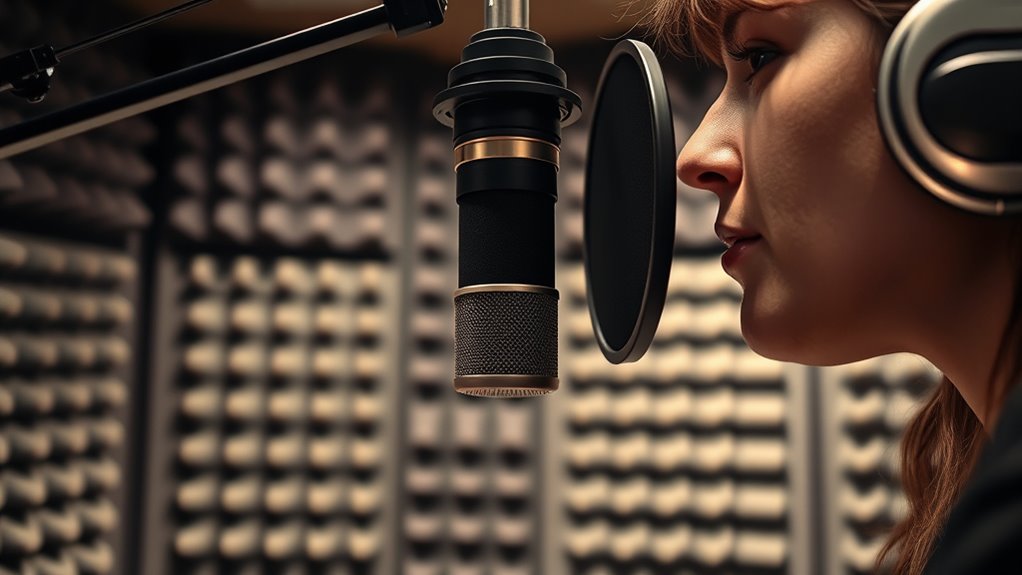
Adjusting for Room Acoustics and Echo
Room reflections and echoes can muddy your vocals, but you can control them with simple adjustments. Try positioning your mic away from reflective surfaces and using sound-absorbing materials. These techniques help reduce unwanted echo and improve overall clarity.
Room Reflection Control
When recording vocals, controlling room reflections is essential to achieve a clear sound. Unwanted reflections can muddy your vocals and reduce clarity. To manage this, consider the following:
- Use portable acoustic panels or blankets around your recording area to absorb excess sound.
- Place your microphone away from reflective surfaces like windows and hard walls.
- Position your setup in a smaller, less reflective room if possible, or add soft furnishings like carpets and curtains.
These steps help minimize reflections that bounce back into the mic, ensuring your vocals stay focused and crisp. Remember, the goal is to create an environment where sound waves don’t scatter and interfere, giving your recordings a professional, polished quality. Controlling room reflections is a key step toward crystal-clear vocals.
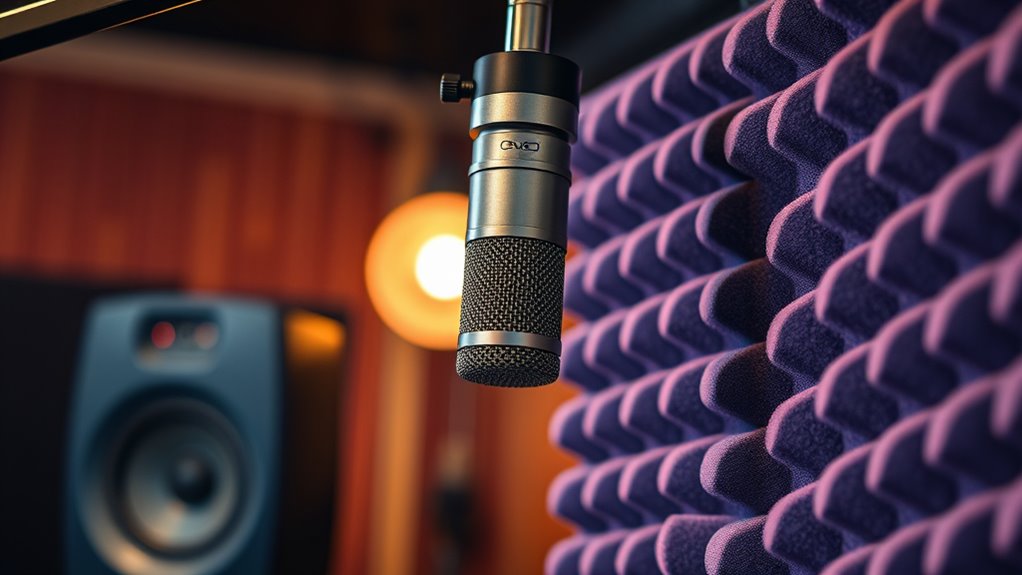
Echo Reduction Techniques
To effectively reduce echo in your recordings, you need to adjust your room’s acoustics to minimize sound reflections. Start by adding soft materials like rugs, curtains, or foam panels to absorb excess sound waves. Position your microphone away from reflective surfaces such as walls or windows, and consider using a reflection filter around the mic. Using a directional microphone, like a cardioid or hypercardioid, helps focus on your voice and reduces captured room echoes. Keep your recording space smaller and more enclosed if possible, as larger areas tend to produce more echo. Finally, experiment with mic placement—placing the mic closer to your mouth can cut down on ambient reflections, resulting in clearer, echo-free vocals.
The Benefits of Using a Shock Mount

Using a shock mount can considerably improve your vocal recordings by reducing handling noise that can sneak in during handheld or movement. It also protects the microphone capsule from vibrations and shocks, ensuring your sound stays clean. Plus, it helps enhance overall sound clarity, making your vocals sound more professional.
Reduces Handling Noise
A shock mount plays a crucial role in minimizing handling noise, which can otherwise ruin a clean vocal recording. When you move or adjust the microphone, vibrations travel through the stand and can introduce unwanted noises. A shock mount absorbs these vibrations, keeping your recording crisp and clear. By isolating the microphone from physical disturbances, it guarantees that every vocal nuance is captured without interference. This is especially important during dynamic performances or in less-than-ideal recording environments. Using a shock mount helps you avoid the need for extensive editing later. Its design effectively dampens thumps, bumps, and vibrations caused by handling. As a result, your recordings stay clean, professional, and free of distracting noise, allowing your vocals to shine through with clarity.
- Absorbs vibrations from handling or movement
- Prevents unwanted thumps and bumps
- Ensures a cleaner, more professional sound
Protects Microphone Capsule
Shielding your microphone capsule from physical shocks is one of the key advantages of employing a shock mount. When you’re recording or performing, accidental bumps or vibrations can easily transfer to the microphone, potentially damaging the delicate internal components. A shock mount absorbs these shocks, preventing them from reaching the capsule directly. This protection reduces the risk of costly damage and extends the lifespan of your microphone. Plus, it helps maintain consistent sound quality by preventing sudden movements from causing unwanted noise or distortions. With a shock mount, you don’t have to worry about small bumps ruining your recordings or damaging your gear. It’s a simple yet effective way to safeguard your investment and ensure your recordings stay clean and professional.
Enhances Sound Clarity
When a microphone is mounted with a shock mount, it minimizes vibrations caused by movement or handling, allowing your vocals to come through more clearly. This reduction in unwanted noise guarantees your recordings are crisp and professional. By isolating the microphone from physical disturbances, every nuance of your voice is captured accurately. You’ll notice a cleaner sound with less rumble or thump, which keeps your vocals front and center.
- Eliminates rumble and handling noise
- Preserves natural vocal details
- Creates a cleaner, more professional sound quality
Fine-Tuning Your Setup for Optimal Sound
To achieve the clearest vocals, you need to fine-tune your microphone setup carefully. Start by adjusting the mic’s position relative to the singer’s mouth—aim for about 6 to 12 inches away, depending on the microphone’s sensitivity. Use a pop filter to reduce plosives and prevent unwanted noise. Check your gain levels; set them high enough to capture detail but low enough to avoid distortion. Consider using a high-pass filter to eliminate unwanted low frequencies like hum or rumble. Listen critically and make small adjustments, moving the mic slightly or changing angles. Regularly monitor your sound with headphones to catch any issues early. Fine-tuning guarantees your setup captures crisp, clear vocals without unwanted noise or muddiness.
Frequently Asked Questions
How Does Microphone Polar Pattern Affect Vocal Clarity?
You should know that microphone polar patterns considerably impact vocal clarity. Cardioid patterns focus on sound directly in front of the mic, reducing background noise and feedback. Omnidirectional mics pick up sound equally from all directions, which can capture a more natural tone but also unwanted ambient noise. Choosing the right pattern depends on your environment and desired sound, helping you achieve clearer, more focused vocals.
Can Microphone Placement Impact Vocal Dynamics?
Imagine you’re singing into a mic, and suddenly, your voice feels more alive or a bit flat. That’s because placement directly influences your vocal dynamics. When you position the mic correctly—closer for intimacy or slightly off-axis for softer sounds—you control how your voice projects and varies in volume. Proper placement helps your vocals stay balanced, expressive, and clear, ensuring your performance resonates exactly as you intend.
What Role Does Ambient Noise Play in Mic Positioning?
Ambient noise greatly influences your microphone placement because it can muddy the vocal clarity. You should position the mic closer to your mouth to pick up more of your voice and less surrounding sound. Use directional microphones to minimize background noise and avoid placing the mic near sources of ambient noise like fans or open windows. Proper placement helps guarantee your vocals remain clear and focused, even in noisy environments.
Are There Specific Mic Types Best for Certain Voice Tones?
You’ll want to choose microphone types that complement your voice tone. For instance, if you have a warm, deep voice, a dynamic mic like the Shure SM7B can enhance richness. If your tone is bright and detailed, a condenser mic such as the Neumann U87 captures those nuances. Experimenting with different mics helps find the best match, ensuring your vocals sound clear and natural in recordings or performances.
How Do Different Room Materials Influence Mic Placement Choices?
Room materials matter more than you might think. Hard surfaces like glass or concrete reflect sound, causing echoes that can muddy your recordings. Softer materials like carpets or curtains absorb sound, reducing reflections and noise. When positioning your mic, consider these acoustics—place it closer in reflective rooms to minimize echoes and farther away in absorbent spaces to capture warm, clear vocals. Adjust placement to optimize clarity based on your room’s acoustic personality.
Conclusion
Mastering mic placement is like tuning a fine instrument—you’ll unseal the true sparkle of your vocals. When you position your mic just right, it captures your voice’s soul with crystal clarity, cutting through the noise like a lighthouse in a storm. Keep experimenting, avoid common pitfalls, and fine-tune your setup. With this trick up your sleeve, your recordings will shine brighter than ever, turning everyday vocals into pure sonic gold.