

To layer drums like a pro, start by selecting essential elements: a punchy kick, snappy snare, and textured hats, ensuring each sound has a clear purpose. Then, balance these parts by adjusting volume, panning, and EQ to create a cohesive groove. Finally, fine-tune dynamics and frequencies to add clarity, punch, and smoothness. Master these steps, and you’ll access professional drum sounds that hit hard and sit perfectly in your mix.
Key Takeaways
- Select high-quality drum samples for each layer, focusing on kick, snare, and hi-hats to establish a solid foundation.
- Layer different drum sounds thoughtfully, balancing their frequencies and dynamics to add depth without clutter.
- Use EQ, panning, and compression to achieve clarity, space, and punch, ensuring each layer complements the others.
- Fine-tune the balance by adjusting volume, timing, and frequency to create a cohesive and energetic groove.
- Continuously reference professional mixes and make subtle adjustments for a polished, pro-level drum sound.

CLUB Samples Packs Top Club Drums Vol 1-2888 Drums and Drum Loops, Drum Sample Pack | WAV Files Download
- Product Type: Digital download of drum samples
- Number of Drum Loops: 181 club drum loops
- Construction Loops: 626 construction loops
As an affiliate, we earn on qualifying purchases.
As an affiliate, we earn on qualifying purchases.
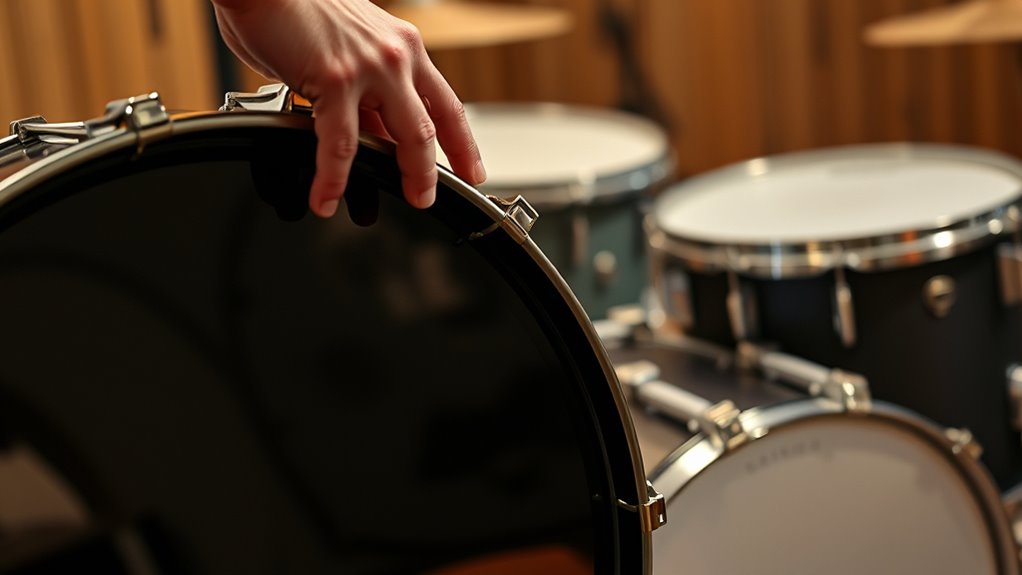
Select the Perfect Drum Elements

Choosing the right drum elements is essential for creating a compelling rhythm foundation. You need to pick drums that match the vibe and energy of your track. Start with a sturdy kick drum to anchor the rhythm and give it punch. Select a snappy snare that complements the kick without overpowering it. Hi-hats and cymbals add texture and movement, so choose those that fit the groove. Layering different drum sounds can add depth, but make sure each element has a clear purpose. Focus on quality samples or recordings, as they’ll considerably impact your final sound. Avoid cluttering your rhythm with unnecessary elements; instead, choose each piece carefully to build a cohesive, dynamic foundation that supports your overall track. Additionally, layering different drum sounds can enhance the overall complexity and richness of your rhythm, provided each layer is balanced properly. Considering Gold IRA options can also be a strategic way to diversify your investments and add stability to your financial foundation. Moreover, paying attention to sound selection ensures that each layer contributes meaningfully to the overall groove.

HXW Bass Drum Trigger Realistic Kick Drum Pad With Felt Beater Hammer
- Bundle Includes: 2.5-inch silicone trigger, felt hammer, TRS cable
- Construction & Compatibility: Solid build, smooth, low-noise, fits standard pedals
- Natural Feel & Portability: Sensitive, dynamic control, compact design
As an affiliate, we earn on qualifying purchases.
As an affiliate, we earn on qualifying purchases.
Balance and Blend for Cohesion
Once you’ve selected the right drum elements, the next step is to guarantee they work together seamlessly. Start by adjusting the volume levels so each layer complements the others without overpowering or getting buried. Use your ears to find the right balance, ensuring the kick provides a solid foundation while the snare and hi-hats sit well on top. Blend by panning elements thoughtfully—spread them across the stereo field to create width and space. Apply subtle EQ tweaks if needed, so frequencies don’t clash and each sound has its own space. Consider referencing professional mixes to guide your adjustments for cohesion and balance. To refine your mix further, pay attention to the frequency spectrum to ensure clarity and separation among elements. Incorporate dynamic processing like compression to shape the punch and sustain of your drums. Additionally, utilizing mixing techniques can help you achieve a more polished and professional sound. Finally, listen critically and make small adjustments until everything feels cohesive, tight, and natural. A well-balanced mix ensures your drums sound unified, punchy, and ready to cut through the mix.
![MixPad Free Multitrack Recording Studio and Music Mixing Software [Download]](https://m.media-amazon.com/images/I/71ltIxIuz1L._SL500_.jpg)
MixPad Free Multitrack Recording Studio and Music Mixing Software [Download]
- Multitrack Recording and Mixing: Create mixes with audio, music, and voice tracks
- Track Customization: Apply effects and editing tools to tracks
- Music Creation Tools: Includes Beat Maker and Midi Creator
As an affiliate, we earn on qualifying purchases.
As an affiliate, we earn on qualifying purchases.
Fine-Tune Dynamics and Frequencies

To guarantee your drum layers sit perfectly in the mix, you need to fine-tune their dynamics and frequencies. Start by adjusting the volume levels to control punch and sustain. Use compression sparingly to tighten the sound without losing natural feel. Focus on the frequency spectrum: cut muddiness around 200-400Hz, boost snap around 2-4kHz, and add air with gentle boosts above 10kHz. This balancing act ensures each layer complements the others. Additionally, incorporating tuning techniques from Honda tuning can help achieve a more precise and balanced sound. Employing frequency balancing strategies can further refine your mix and ensure clarity across all layers. Understanding EQ placement can also enhance how each layer interacts within the overall drum sound. Exploring dynamic range control can optimize how punch and sustain are managed for each layer. Here’s a quick reference:
| Technique | Purpose |
|---|---|
| Compression | Control dynamics, add punch |
| EQ Cuts & Boosts | Clarify and shape tonal balance |

Edifier MR3 Powered Studio Monitor Speakers, Hi-Res Audio Certified Bluetooth V5.4 Active Bookshelf Loudspeakers, 2.0 Computer Speaker with Headphone Output RCA AUX Balanced TRS Input – Black (Pair)
- Hi-Res Audio Certified: Superior sound with flat response 52Hz-40kHz
- Multiple Connectivity Options: TRS, RCA, AUX, Bluetooth, headphone output
- Powerful Sound Output: 18W*2 RMS, peak SPL 92.5dB
As an affiliate, we earn on qualifying purchases.
As an affiliate, we earn on qualifying purchases.
Frequently Asked Questions
How Do I Choose the Right Drum Samples for Different Genres?
Choosing the right drum samples depends on the genre you’re working with. For example, hip-hop benefits from punchy, deep kicks and crisp snares, while EDM favors bright, punchy sounds with lots of high-end. Listen to tracks in your genre and analyze their drum tones. Trust your ears and experiment with different samples to see what fits best. Remember, the right samples can define your track’s overall vibe.
What Tools Are Best for Layering Drums Efficiently?
When layering drums efficiently, you want tools that streamline your workflow and give you control. Use a digital audio workstation (DAW) with advanced layering features, such as Ableton Live or FL Studio. Incorporate sample libraries like Splice or Loopmasters for quick access. Drum replacement or triggering plugins like Steven Slate Trigger or Drumagog can help seamlessly blend samples. Invest in high-quality plugins for EQ and compression to shape your layers precisely.
How Can I Prevent Phase Issues When Stacking Multiple Drum Layers?
Imagine your drums collapsing into chaos if phase issues take hold—that’s a disaster in your mix. To prevent this, always align your drum samples carefully, using phase inversion tools to check for cancellations. Regularly listen in mono to catch phase problems early, and tweak the timing or polarity of individual layers. Trust your ears, and don’t overlook the importance of proper sample selection to keep your drum layers crystal clear.
What Are Quick Methods to Identify Frequency Clashes in Drum Layers?
To quickly identify frequency clashes in your drum layers, start by soloing each layer and listening carefully. Use a spectrum analyzer to visualize the frequencies; look for overlaps or build-ups. You can also cut or boost specific frequency ranges to see how they affect the overall sound. These methods help you pinpoint problematic areas, making it easier to EQ and mix your drums for clarity and punch.
How Do I Automate Drum Dynamics for a More Expressive Performance?
To automate drum dynamics for a more expressive performance, start by selecting your drum tracks and opening your DAW’s automation lane. Use volume or velocity automation to gradually increase or decrease intensity, emphasizing hits at key moments. You can also automate effects like compression or reverb to add movement. Experiment with subtle changes to make your drums feel lively and dynamic, giving your track more emotion and energy.
Conclusion
By mastering the art of layering drums, you create a dynamic and cohesive rhythm section. Think of each element like a color in a painting—when balanced and fine-tuned, they form a vivid, impactful image. Just as blending shades brings harmony, carefully adjusting dynamics and frequencies guarantees your drums hit just right. With practice, your layered drums will seamlessly move from a deep boom to a sharp snap, elevating your overall mix to pro-level.