
Using a condenser microphone can make your audio recordings sound amazing! Start by positioning the mic 4 to 16 inches from your voice or instrument for the best clarity. Connect it to your computer with an XLR cable, making sure to turn on the 48V phantom power. Don't forget to choose the cardioid setting to keep out background noise! While recording, watch your audio levels and adjust as needed to avoid distortion. Consider using a pop filter to make your voice clear. Want to uncover more tips on perfecting your sound? There's plenty more to explore!
Key Takeaways
- Position the microphone 4 to 16 inches from the sound source and use a cardioid pattern to minimize background noise.
- Ensure phantom power (48V) is activated for optimal microphone performance and connect via XLR or USB cable.
- Use a pop filter to reduce plosive sounds and improve vocal clarity during recording.
- Adjust input levels in your DAW, conducting sound checks to monitor audio clarity and volume.
- Engage lo-cut filters to eliminate low-frequency noise, enhancing recording quality for vocals and acoustic instruments.
Audio-Technica AT2020 Cardioid Condenser Studio XLR Microphone, Ideal for Project/Home Studio Applications, Black
The price/performance standard in side address studio condenser microphone technology
As an affiliate, we earn on qualifying purchases.
As an affiliate, we earn on qualifying purchases.
Overview of Condenser Microphones
When you think about high-quality audio recording, condenser microphones often come to mind. These amazing tools are known for their high sensitivity and quick transient response, capturing sounds with incredible clarity. They need phantom power—usually around 48 volts—to operate, so you'll want to connect them to an audio interface or mixer that provides this power.
The magic of condenser microphones lies in their internal structure. They've a diaphragm and a backplate that create an electric signal when sound waves hit the diaphragm. This process helps pick up even the tiniest details in your recordings!
One of the best things about condenser microphones is their versatility. They come with different polar patterns, including Cardioid, Hypercardioid, Bidirectional, and Omnidirectional. Each pattern works best for different recording situations.
For example, Cardioid is great for isolating sound from one direction, while Omnidirectional captures sound from all around.
These microphones excel at recording high and ultra-high frequencies, making them perfect for vocals and acoustic instruments. By understanding how condenser microphones work, you can make the most out of your audio recording sessions!

FIFINE USB Microphone, Metal Condenser Recording Microphone for MAC OS, Windows, Cardioid Laptop Mic for Recording Vocals, Voice Overs, Streaming, Meeting and YouTube Videos-K669B
[Convenient Setup] Plug and play recording USB microphone for PC, with 5.9-Foot USB cable included for computer PC…
As an affiliate, we earn on qualifying purchases.
As an affiliate, we earn on qualifying purchases.
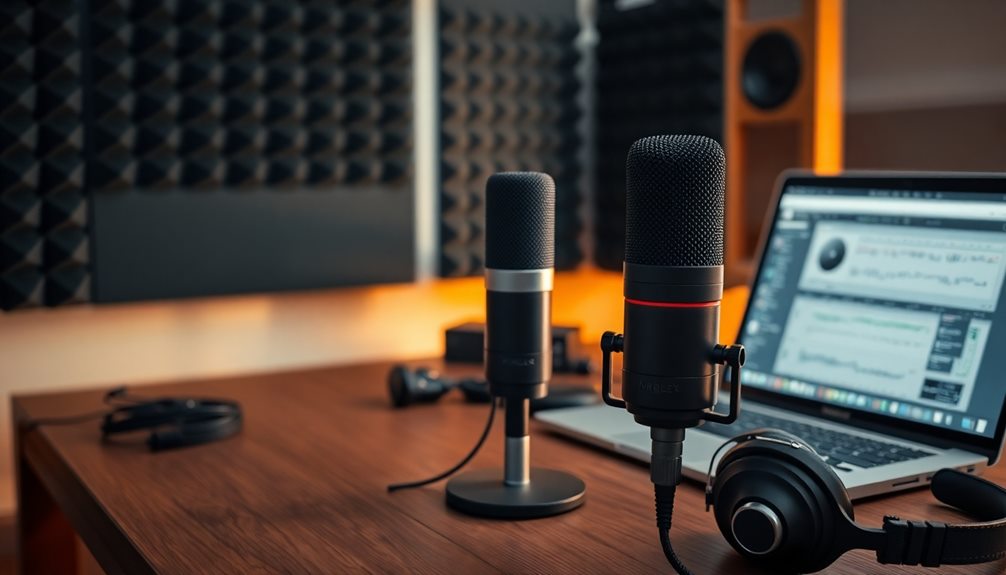
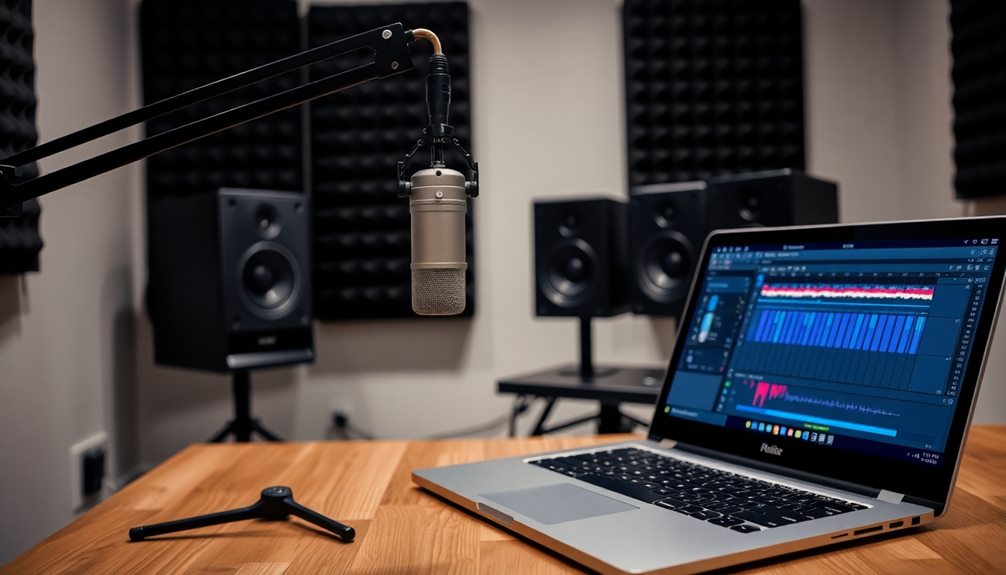
Microphone Setup
To achieve the best results with your condenser microphone, proper setup is key. Start by positioning your microphone about 4 to 16 inches (10 to 40.6 cm) from your sound source. This distance helps capture clear and detailed audio.
Next, set your microphone to the cardioid pattern. This setting focuses on sound coming from the front while reducing background noise, making your recordings sound cleaner.
Now, connect your microphone to your audio interface using an XLR cable. Make certain your interface provides 48V phantom power, which is necessary for your condenser microphone to work properly.
Once everything is connected, check your computer's system settings to verify it recognizes the microphone.
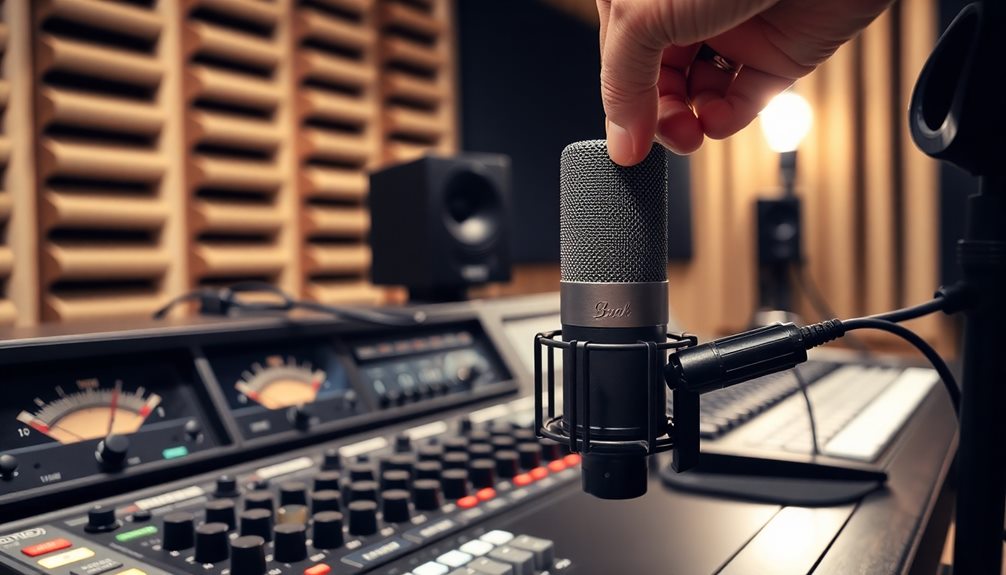
Before you start recording, don't forget to use a pop filter! It helps reduce those pesky plosive sounds like "p" and "b," which can distort your audio.
With your microphone set up correctly, you're ready to create some amazing recordings. Enjoy the process and let the music or your voice shine through!

Aokeo Professional Microphone Pop Filter Mask Shield For Blue Yeti and Any Other Microphone,Mic Dual Layered Wind Pop Screen With Flexible 360° Gooseneck Clip Stabilizing Arm
Double Layered Screen Pop Filters:The first screen blocks air blasts as any pop filter normally would; The gap…
As an affiliate, we earn on qualifying purchases.
As an affiliate, we earn on qualifying purchases.
Connecting to Computer
Connecting your condenser microphone to your computer is super easy!
First, use the USB cable to plug the small end into your mic and the big end into a USB port on your computer.
Don't forget to check your system settings to make sure your computer recognizes the microphone, so you can start recording without any hiccups!
USB Cable Connection
Using the supplied USB cable, you can easily connect your condenser microphone to your computer by plugging the smaller end into the microphone and the larger end into an available USB port.
This simple connection is often plug-and-play, which means your computer should recognize it right away without needing any extra audio interface or phantom power supplies.
Once you've connected the microphone, make certain all your connections are secure. This helps prevent issues like audio dropouts or low recording volume. It's super important!
After that, you'll want to check your recording software. Open it up and confirm that your microphone is selected as the input device. This guarantees that your voice or sounds are captured perfectly.
If everything's set up correctly, you're ready to start recording! Whether you're making a podcast, recording music, or just having fun, your condenser microphone is now ready to deliver great audio.
Enjoy experimenting with different sounds and techniques. You're on your way to creating amazing recordings! Happy recording, and let the creativity flow!
System Recognition Settings
Ensuring your computer recognizes your condenser microphone is essential for a seamless recording experience. First, connect your microphone using the supplied USB cable. Plug the small end into the microphone and the other end into a USB port on your computer. This simple step helps your computer find the new device.
Next, you'll want to check your system settings for input devices. Open your audio settings and look for the microphone. Make sure it's selected as the default recording device. This tells your computer to use your condenser microphone when you record or chat.
If you're using an XLR-connected condenser microphone, connect it to an audio interface instead. Don't forget to connect that interface to your computer, too! It's important to activate phantom power on the audio interface. This sends the necessary 48V to your microphone, ensuring it works properly.
Once everything's set up, you're ready to create amazing audio! With your microphone recognized and ready to go, you can plunge into your recording projects, knowing you've set everything up for success. Enjoy your sound journey!
Secure Connection Check
A secure connection is essential for your condenser microphone to function effectively. Let's make certain everything's set up right! Here's a quick checklist to help you out:
- Connect with the USB Cable: Use the supplied USB cable. Plug the small end into your microphone and the larger end into an available USB port on your computer. This guarantees a secure connection.
- Check Recognition: After connecting, check your system settings to see if your microphone is recognized. If it is, you've successfully installed it!
- Secure All Cables: If you're using an audio interface, make sure the XLR cable is tightly connected to both the microphone and the interface. Loose connections can cause audio problems.
- Activate Phantom Power: Don't forget to turn on the phantom power on your audio interface or power supply. Condenser microphones need this to work properly.

LSENLTY Decibel Meter Plug-in Wall, 30-130dB Sound Level Meter, Data Hold&Max/Min&Fast/Slow Response 3-in-1 Noise Detector(TEM&Humidity), A-Weighted Noise Measuring Device for Classroom Home Library
【A-Weighting Function】LSENLTY sound level meter uses a high-precision sensor combined with professional A-weighting noise measurement, accurately simulating the…
As an affiliate, we earn on qualifying purchases.
As an affiliate, we earn on qualifying purchases.
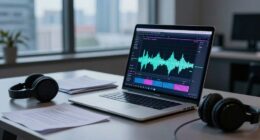
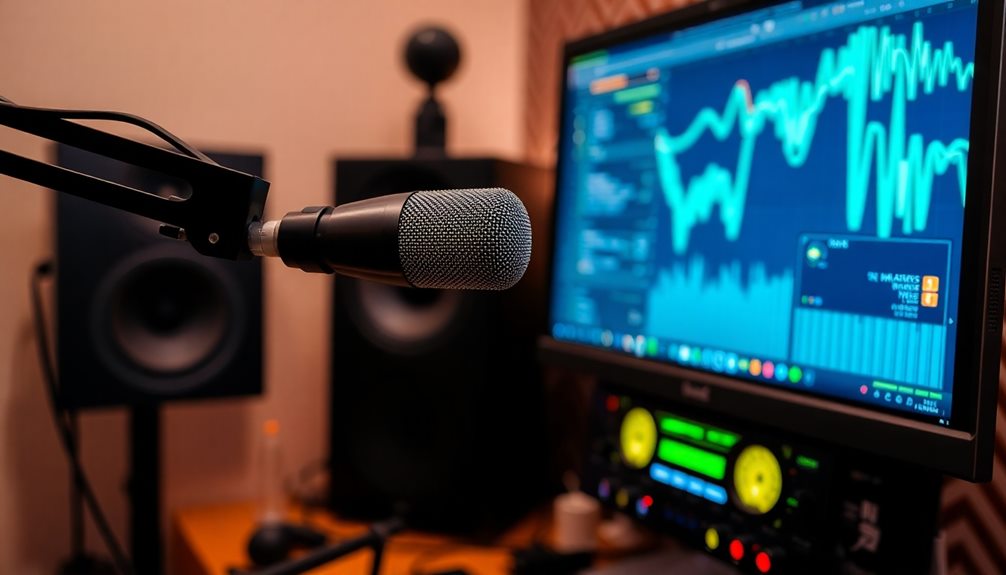
Digital Audio Workstation Configuration
Configuring your digital audio workstation (DAW) is essential for achieving high-quality recordings with your condenser microphone. Start by launching your DAW and remember to lower the main output level. This step helps prevent sudden loud noises that could harm your hearing or equipment.
Next, set the input and output channels to match the connected condenser microphone, guaranteeing proper audio routing and monitoring. To enhance your recording quality, consider using high-quality equipment that complements your setup.
Adjust the microphone input level to about halfway in the DAW settings. This balance helps capture clear audio without distortion. It's a good idea to conduct a sound check by making noise into the microphone while wearing headphones. This way, you can monitor the audio levels and make needed adjustments before recording.
Make certain your DAW's audio settings recognize the microphone correctly. Check for the XLR input and verify your sound card is set up properly.
Also, keep an eye out for any latency or performance issues that may affect recording quality. With everything set up just right, you're ready to create fantastic audio recordings. Enjoy the process, and let your creativity shine!
Testing and Adjusting Levels
Once you've got your DAW set up, it's time to test and adjust your microphone levels for ideal recording. This step is essential to guarantee your audio sounds great! Here's how you can do it:
- Wear headphones: This helps you effectively monitor audio levels and catch any issues right away.
- Make some noise: Speak or play music into the microphone to gauge its volume level. Listen for clarity and distortion.
- Adjust the output level: In your DAW, adjust the output level control to find suitable listening levels. You want to avoid clipping, which can ruin your audio.
- Perform sound checks: Test at different distances from the sound sources. Usually, 4 to 16 inches is the sweet spot for capturing the best sound.
As you're testing, pay close attention to any static or distortion. If you hear these, it might mean you need to adjust your gain settings or check your connections.
With a little practice, you'll be able to get the perfect levels for clear and crisp recordings! Enjoy the process, and happy recording!
Understanding Microphone Functionality

Understanding the functionality of a condenser microphone is essential for achieving high-quality recordings. These microphones work by using a diaphragm that vibrates when sound waves hit it. This movement creates variations in an electrical signal because the diaphragm interacts with a charged backplate. Isn't that cool?
To get started, you'll need a power supply. Condenser microphones typically require 48V phantom power, which you can find in audio interfaces or dedicated power supplies. This power is vital because it helps the microphone pick up sounds clearly.
Inside the mic, a preamplifier boosts the weak signal created by the diaphragm's movement, making your audio sound even better!
One of the best features of condenser microphones is their wide frequency response and high sensitivity. They can capture subtle details and quick sounds that other types might miss.
Plus, the polar pattern—like cardioid or omnidirectional—affects how the microphone picks up sound from different directions. This choice can make a big difference in what you record, so think about your recording environment.
With this knowledge, you're on your way to creating amazing audio! Enjoy your recording adventures!
Filter Switches and Their Use
Filter switches on your condenser microphone can really change how your recordings sound!
For instance, the lo-cut filter helps to cut out low-frequency noise, making your vocals and instruments shine through more clearly.
Just remember, while this switch is super helpful, you might want to skip it when recording bass instruments, so you don't lose those important low notes!
Lo-Cut Filter Function
Many condenser microphones come equipped with a lo-cut filter function, which can be a game-changer for your recordings. This handy feature helps reduce low-frequency sounds, making your audio clearer and cleaner. When you engage the lo-cut filter, you can experience better vocal clarity and less background noise.
Here's how it works:
- Eliminates Unwanted Rumble: It cuts out those pesky low-end sounds below 80Hz, like handling noise or vibrations.
- Enhances Vocal Clarity: Higher frequencies shine through, which means your voice sounds more vibrant and distinct.
- Improves Recording Quality: In noisy spaces, it minimizes interference from background noise, giving you a more professional sound.
- Know When to Switch Off: If you're recording bass instruments or kick drums, turn off the lo-cut filter to keep those essential low-end frequencies.
Understanding how the lo-cut filter functions can really help you optimize your recordings. It's all about balancing the sound, making sure your audio is exceptional.
Frequency Adjustment Benefits
Using filter switches on your condenser microphone can considerably enhance your recording quality.
These handy switches, like the lo-cut switch, help get rid of unwanted low-frequency noise, which can muddy your recordings. By allowing higher frequencies to pass through, you get better clarity in your audio capture. This is especially helpful in noisy environments where low-frequency rumble might sneak in.
When you engage the filter switch, it's like giving your microphone a superhero cape! It protects your recordings from unwanted sounds and feedback, making it perfect for capturing vocals or in live situations.
Plus, if your mic has switchable polar patterns, you can customize your setup even more based on your recording environment.
However, remember to turn off the filter switch when you're recording low-frequency instruments like kick drums or bass guitars. You don't want to lose their rich sound!
Appropriate Usage Scenarios
Typically, knowing when to engage the lo-cut filter switch can make a significant difference in your recordings. This handy feature helps you capture clear audio and avoid unwanted noise.
Here are some great recording scenarios where you might want to use the lo-cut filter:
- Vocal Recordings: Turn on the lo-cut filter to cut out low rumbles and handling noise. This helps your voice shine!
- Acoustic Instruments: If you're recording guitars or violins, the filter keeps the sound crisp and focused.
- Podcasts or Voiceovers: Use the lo-cut filter for clearer speech, making your audio easy to understand.
- Live Performances: It helps reduce crowd noise and other low-frequency distractions during recordings.
Pros and Cons of Condenser Microphones

Condenser microphones are renowned for their ability to capture intricate details in sound, making them a popular choice among musicians and recording engineers. One big pro is their high sensitivity; they pick up every little nuance in your voice or instrument. This makes them perfect for recording vocals and acoustic sounds.
However, they do require phantom power to work, usually around 48V. If your audio interface or mixer doesn't provide this, you might be out of luck.
On the downside, their fragility can be a concern. Condenser microphones are generally more delicate than dynamic mics, so you need to handle them with care. You wouldn't want to drop one!
Additionally, because of their sensitivity, they often pick up ambient noise. So, if you're in a noisy room, that can be a real challenge.
Recommended Models and Choices
When choosing the right condenser microphone, you'll find several models that cater to different budgets and recording needs.
These microphones are fantastic for capturing good recording quality, especially if you're focusing on vocals. Here are some recommended choices:
- Audio Technica AT2020 – Priced around £84, it's budget-friendly and great for straightforward recordings with a wide frequency response from 20Hz to 20kHz.
- sE 2200 – At approximately £198, this model has a dynamic range of 117dB and a pad switch, making it versatile for various recording situations.
- Aston Spirit – For £449, it offers switchable polar patterns and a maximum SPL of 138dB, making it ideal for recording vocals in different environments.
- Neumann U87Ai – This premium choice costs around £1,794 and is celebrated for capturing subtle nuances in sound, perfect for high-end studio recordings.
With these options, you can find a condenser microphone that fits your needs!
Each one brings something special to the table, so you can create amazing audio recordings that truly shine.
Happy recording!
Frequently Asked Questions
How to Properly Use a Condenser Mic?
To properly use a condenser mic, position it 4 to 16 inches from your sound source. Connect it to an interface with phantom power, adjust the gain, and set the polar pattern to Cardioid.
Does a Condenser Mic Make You Sound Better?
Yes, a condenser mic can make you sound better. Its sensitivity captures subtle details and enhances vocal clarity, giving your recordings a richer, more vibrant quality. You'll notice the difference in your audio right away.
What Is the Best Setup for a Condenser Mic?
Imagine crisp vocals piercing through silence; place your condenser mic 4 to 16 inches away. Activate phantom power, use quality XLR cables, and choose cardioid mode for clear, focused sound that captures your voice beautifully.
What Not to Do With a Condenser Microphone?
Don't expose your condenser microphone to extreme temperatures or humidity. Avoid connecting it directly to a standard mic input, handling it improperly, placing it too close to loud sounds, or using it in reflective environments.
Conclusion
Using a condenser microphone is like planting a seed in rich soil—it can help your audio bloom beautifully! With the right setup and adjustments, you can capture sound that's clear and vibrant. Remember to test levels and tweak settings to find what works best for you. Whether you're recording music or chatting with friends, you'll love the crispness of your audio. So, immerse yourself and enjoy creating perfect sounds that make your projects shine!